Scenario Design
Users can prepare scenarios in a standardized way and recall them whenever needed.
Users can build scenarios in two ways:
via the "Quicksave" function, users can save the current state of the entire system at any time (Paul, vital signs, monitor settings).
via the Scenario Editor, users can create and organize stages on a timeline.
Creating a scenario using Quicksave
By stringing together several scenario stages and connecting them via a freely definable transition time from one stage to the next, entire scenario sequences can be programmed.
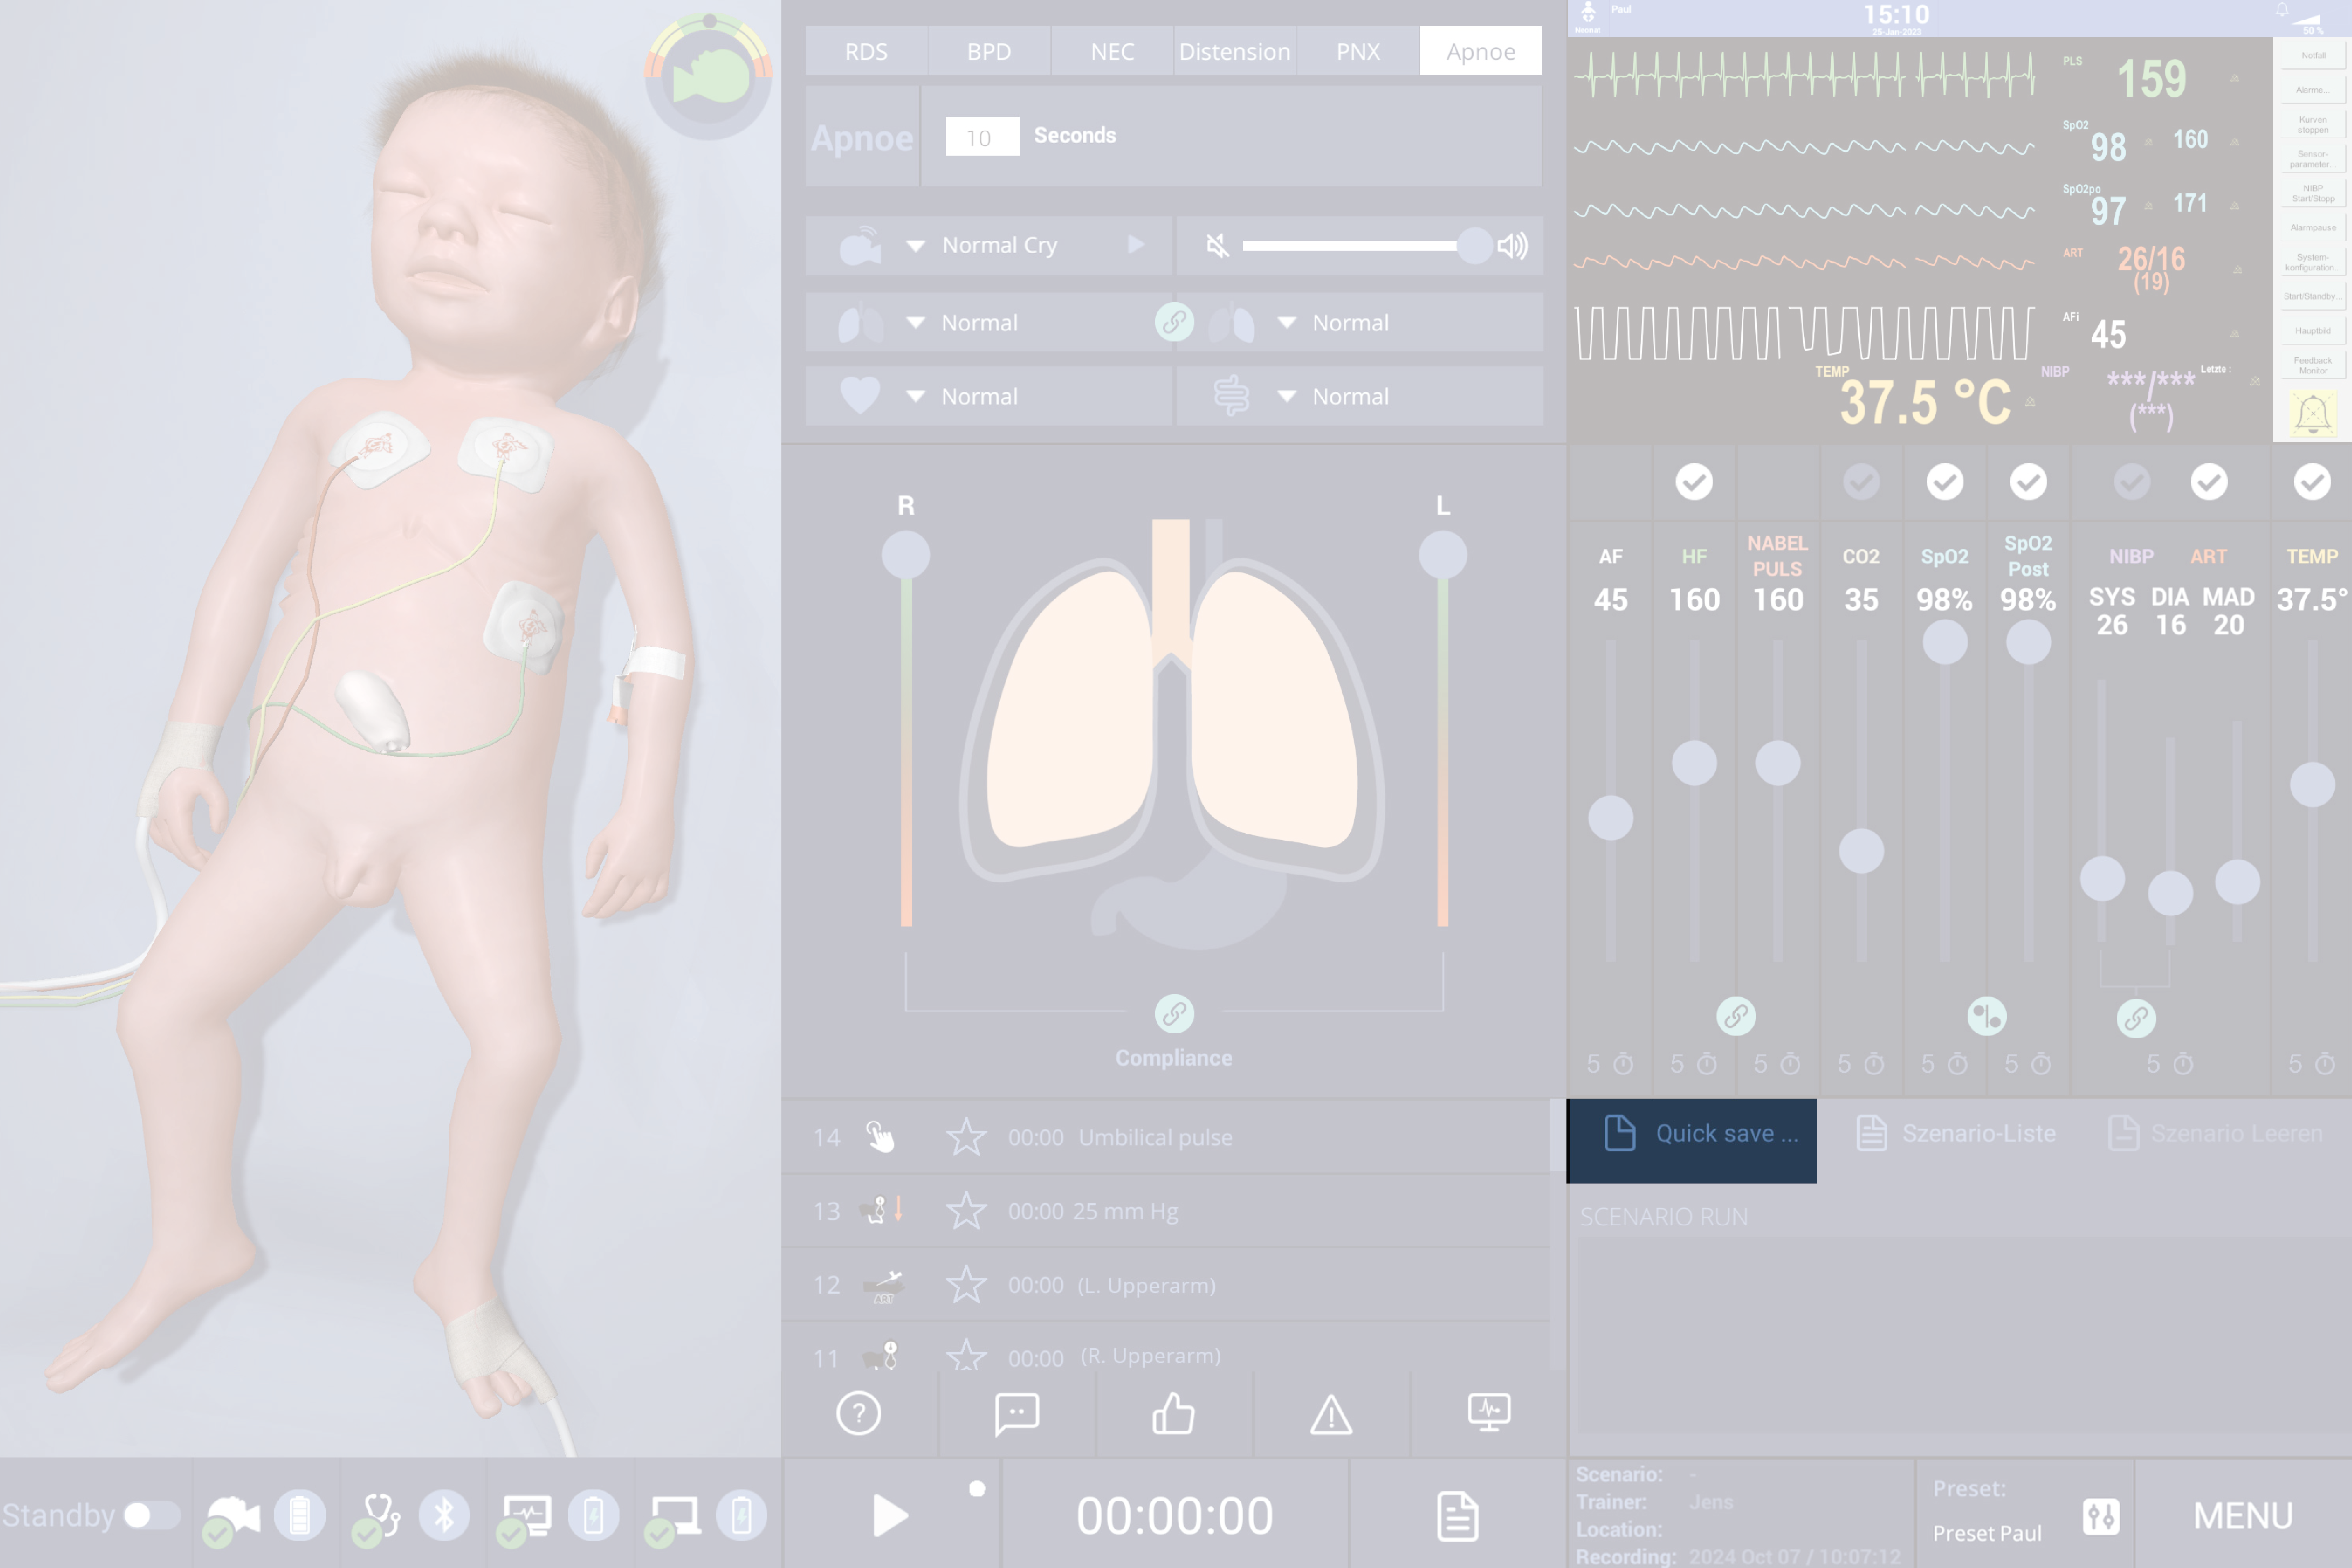
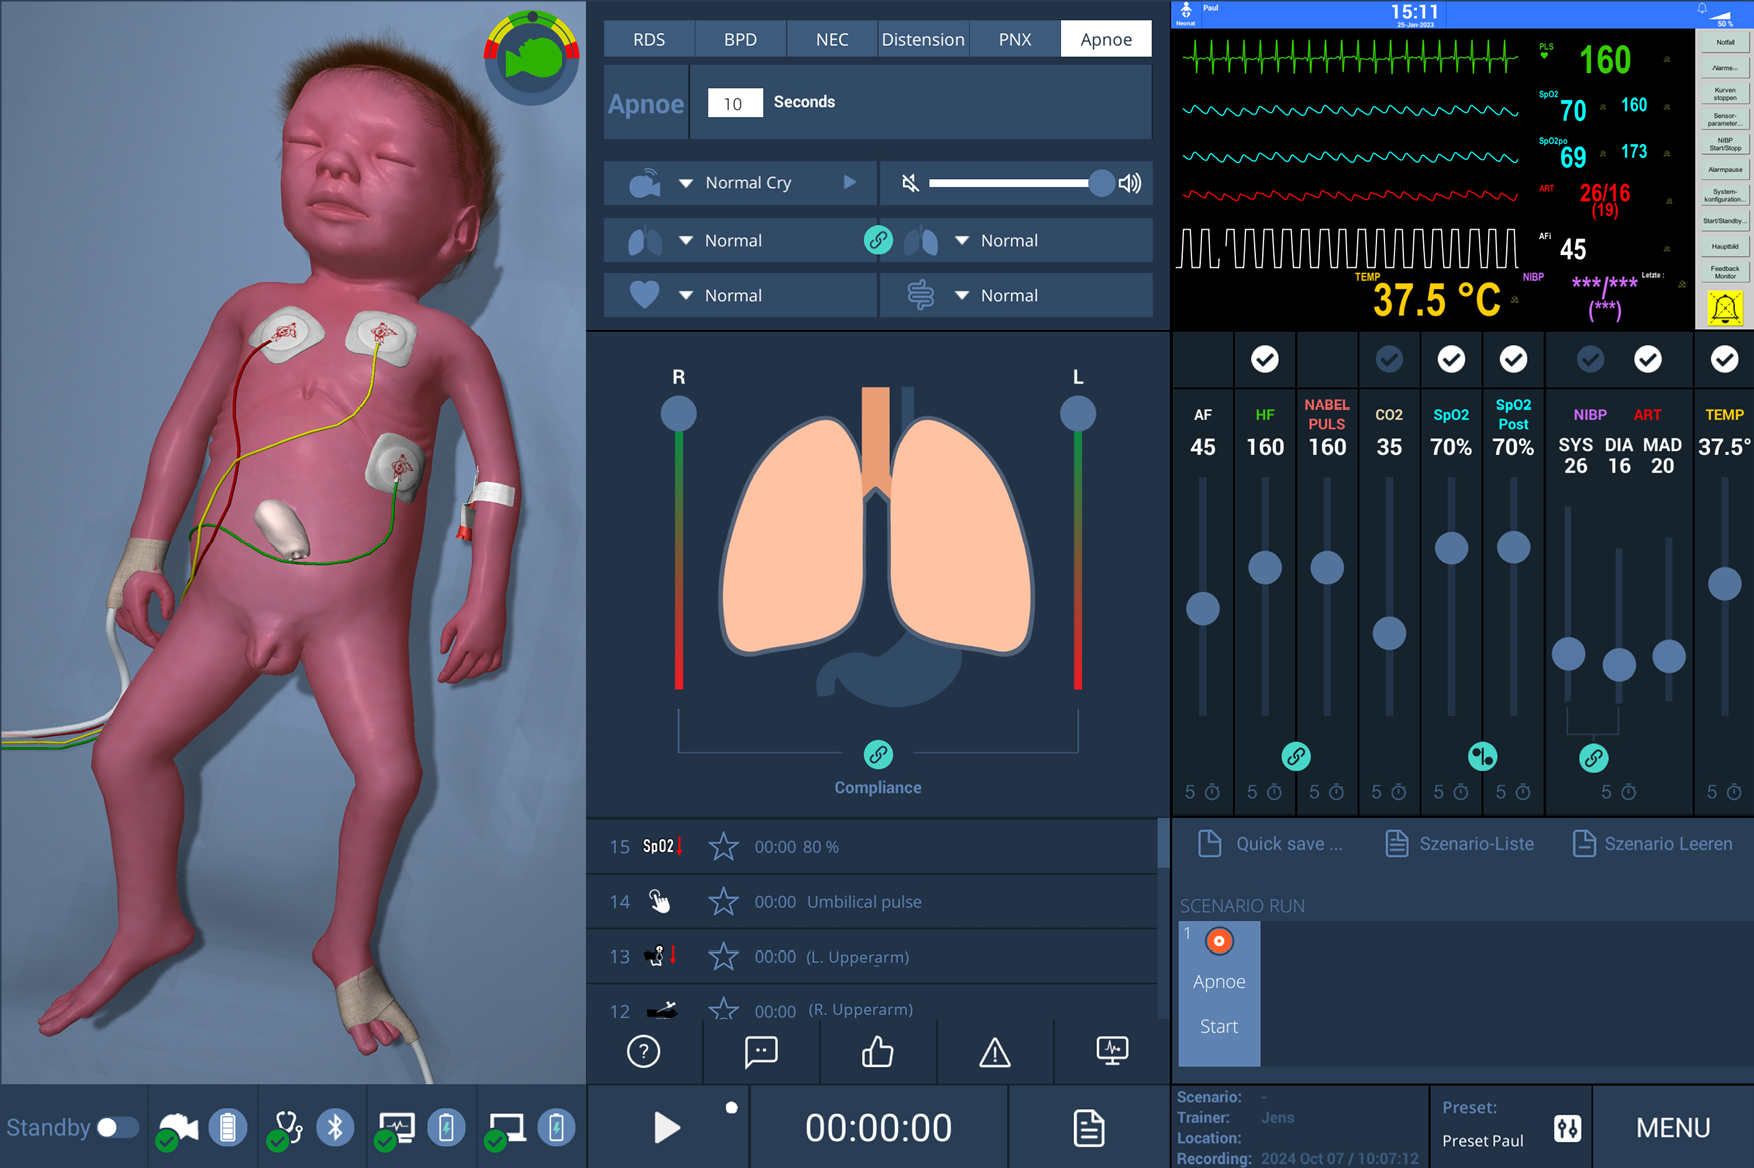
Set the initial simulator state (Paul, vital signs, monitor settings), then click Quicksave.
Enter a scenario title, then click Save.

The first stage is saved and appears in the Scenario history.
Set the next simulator state and click Quicksave again. In the window, enter a Status name.
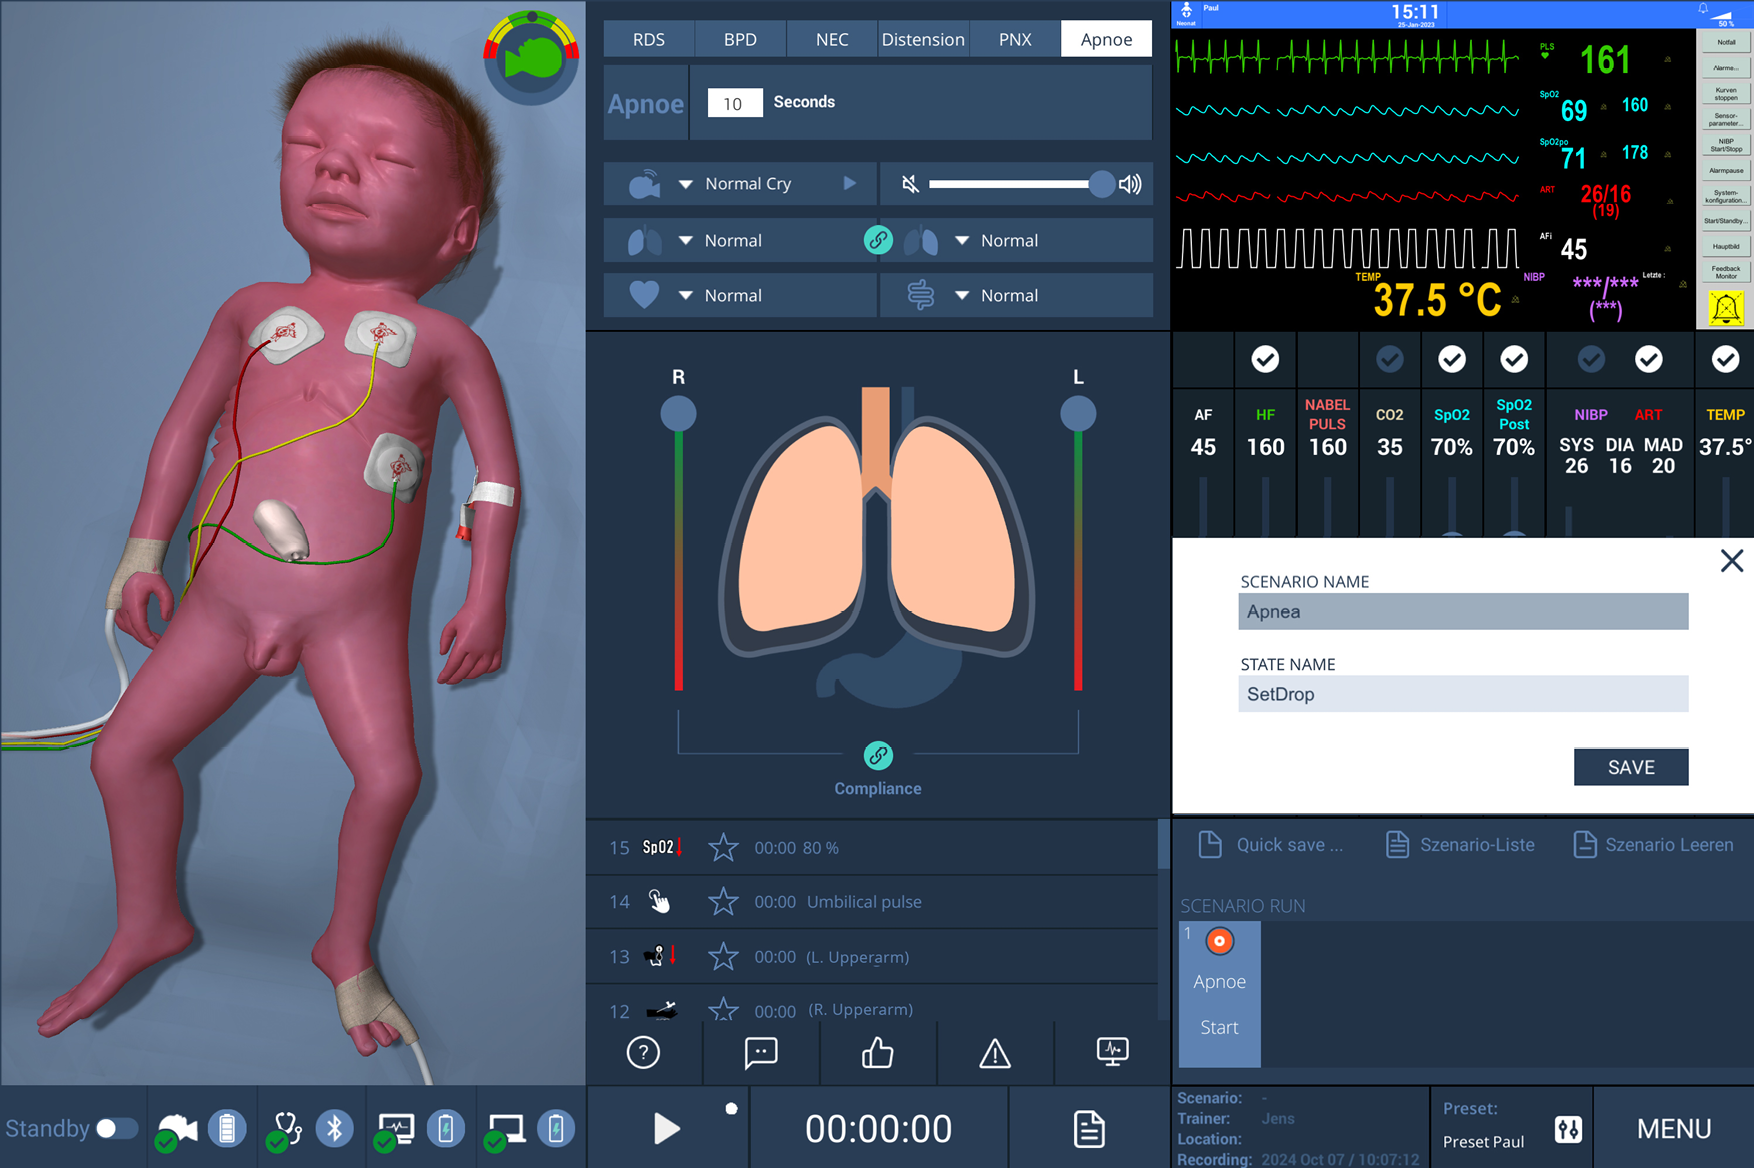
The second stage is saved. A transition-time field now appears between the two stages.
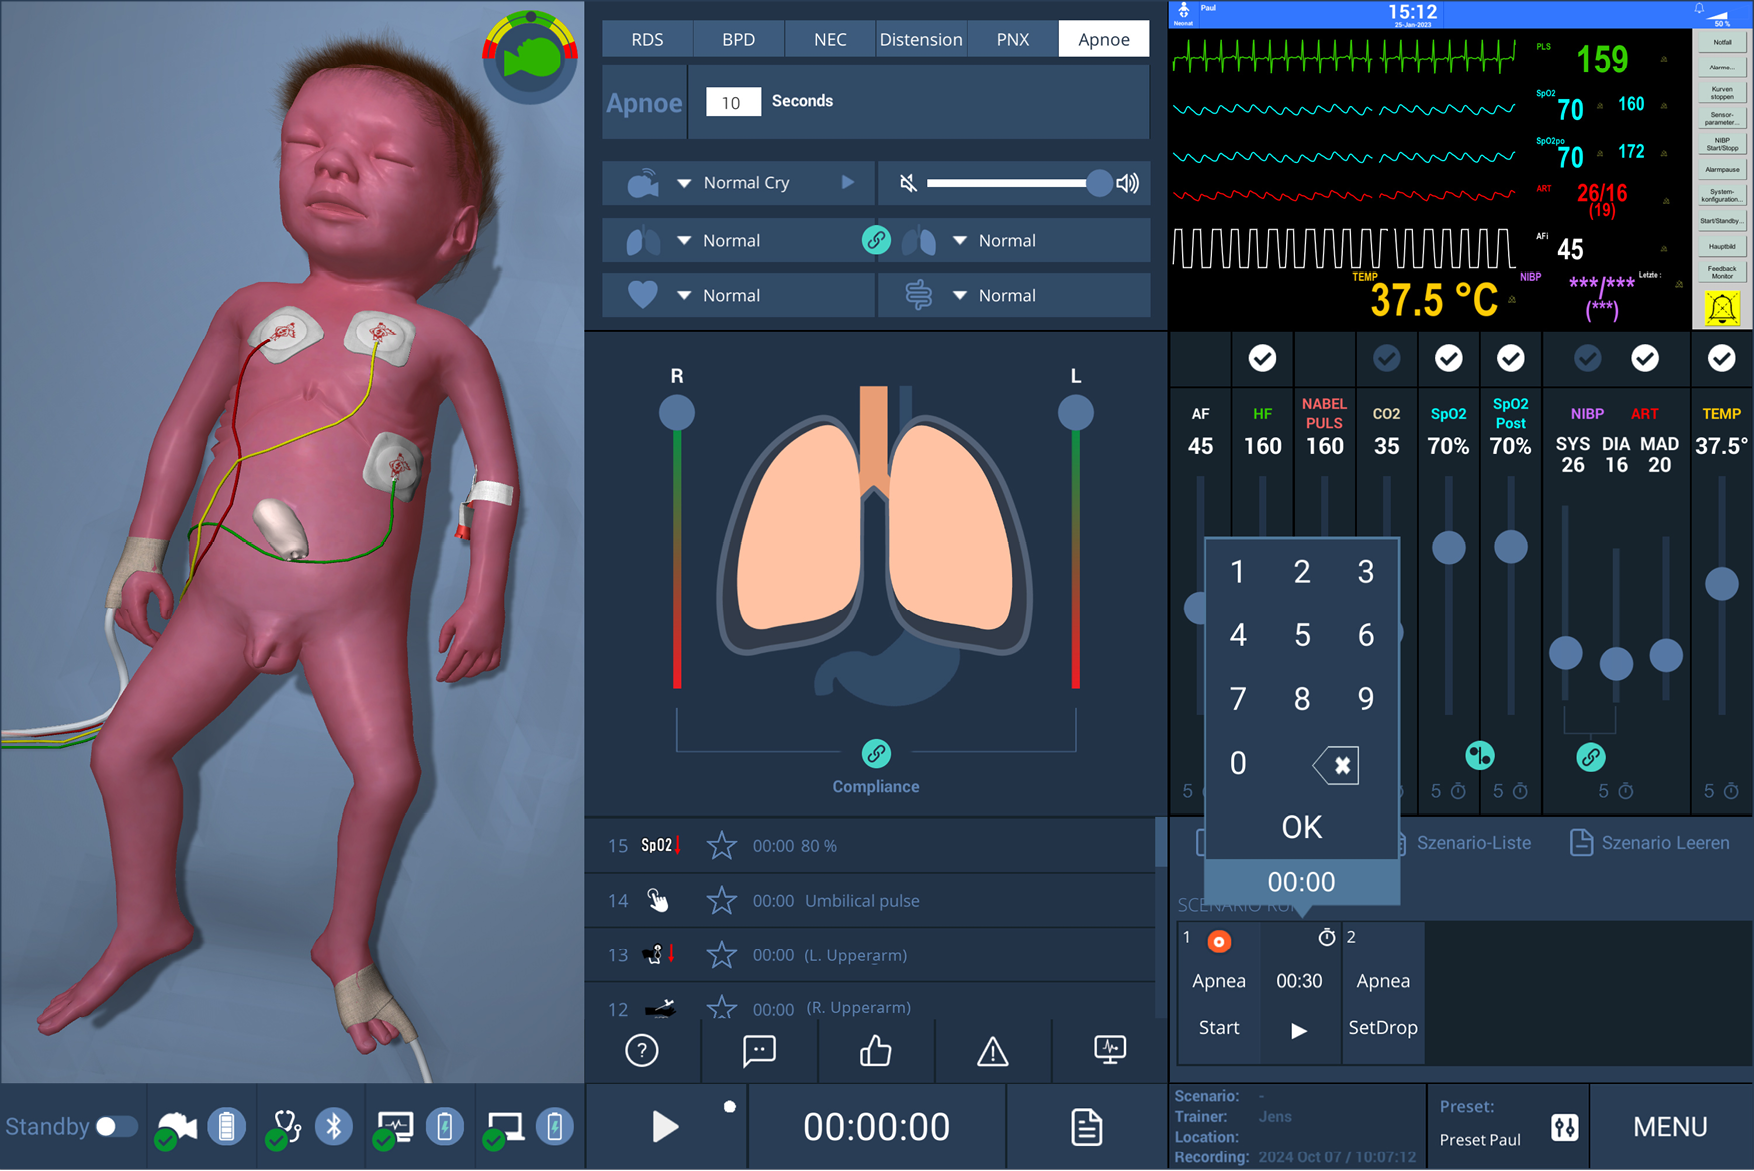
Set the next state and click Quicksave again.
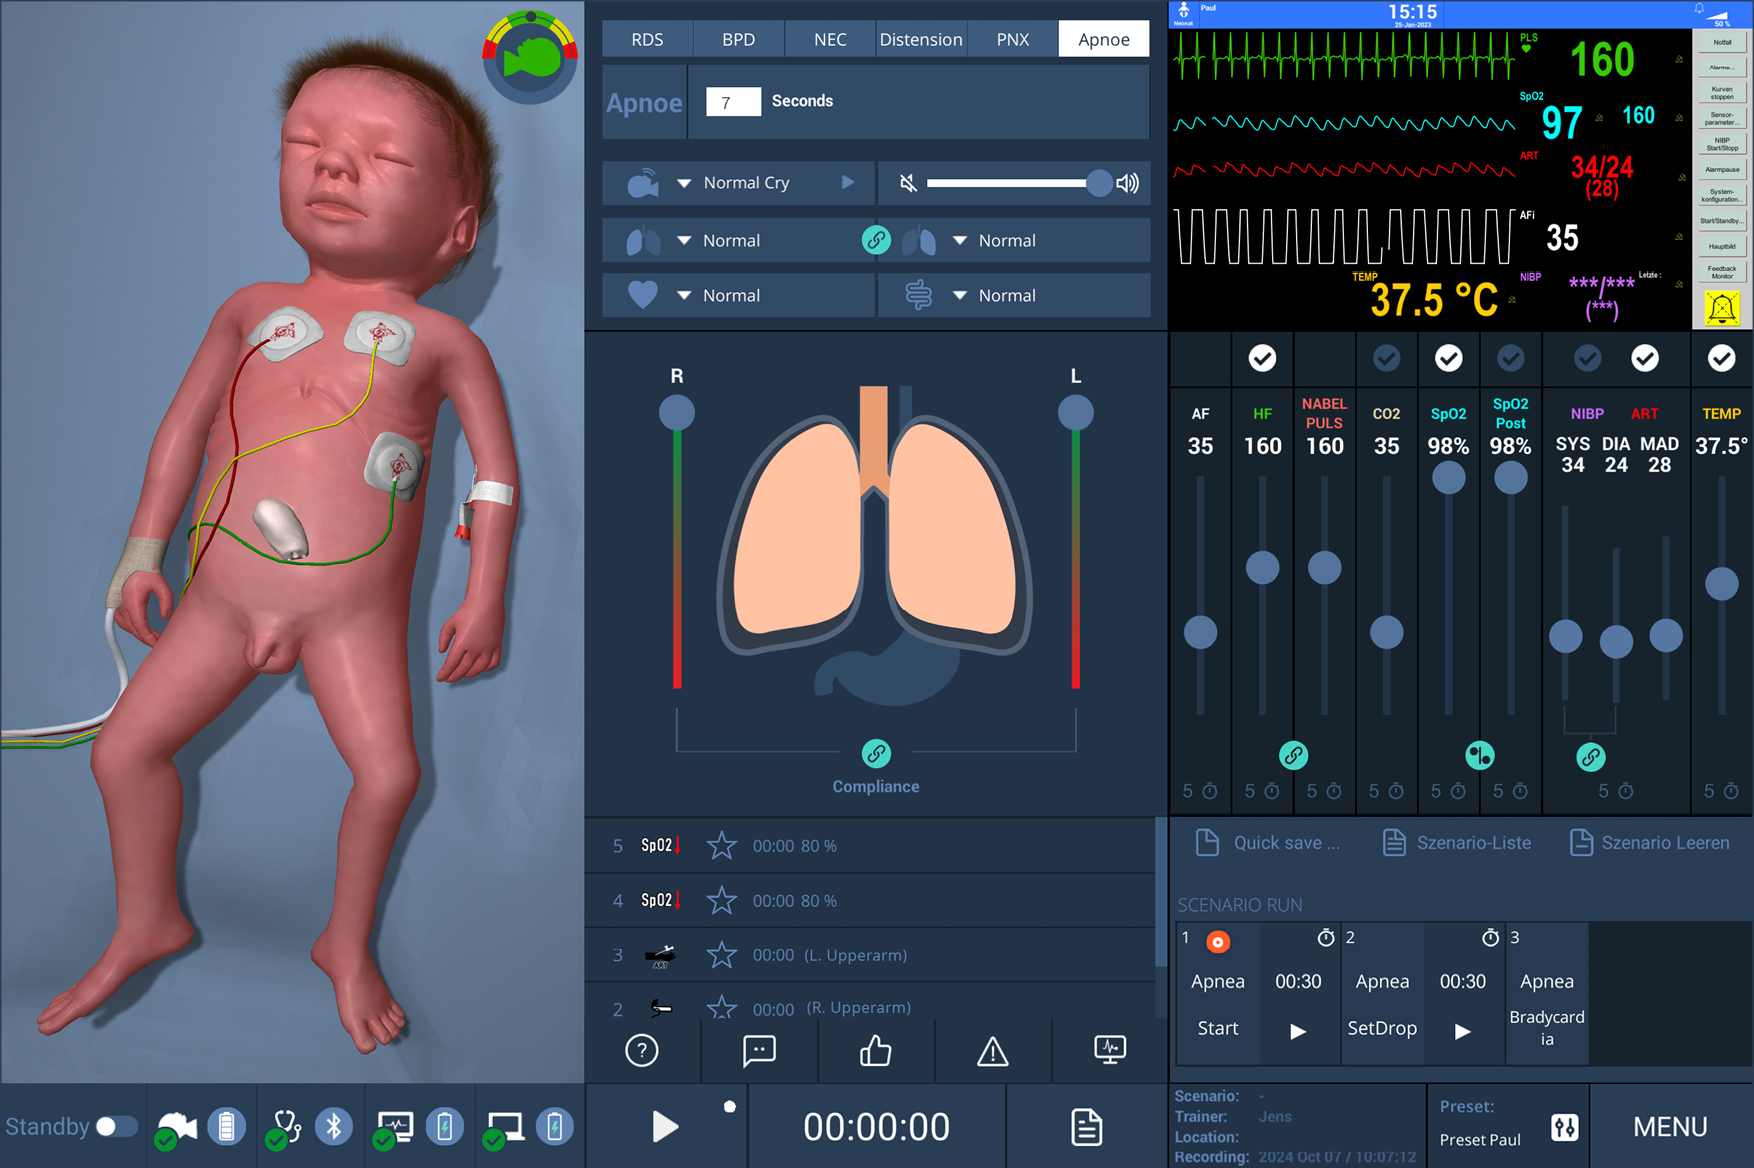
Enter a Status name for the new stage.

Choose the transition time between the stages.

Repeat as needed, then start the pre-programmed scenario with Play.
Creating a scenario using Scenario editor
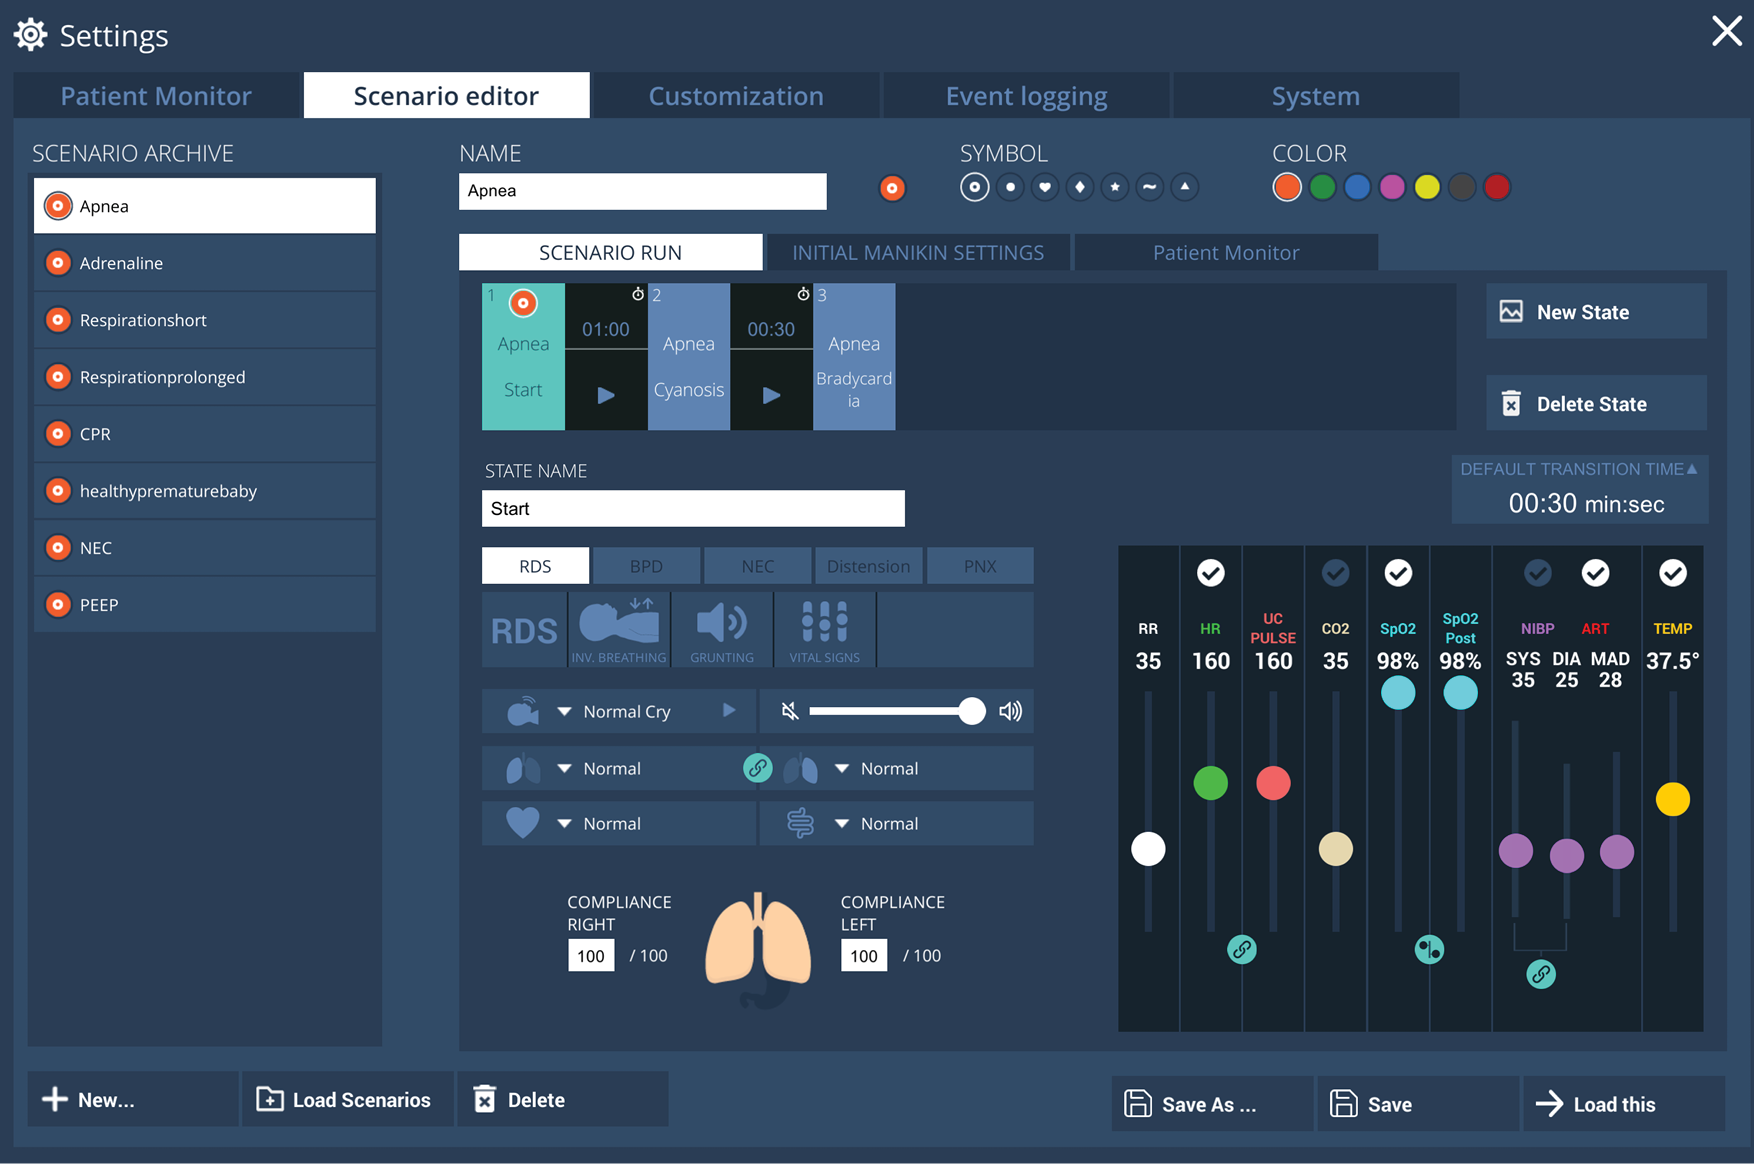
In the scenario editor you will find all your programmed scenarios and can also edit them there. You can also mark your own scenarios here with their own symbol and colour to make them easier to find.
Scenarios can also be programmed in the Scenario Editor.
Click Menu on the bottom right corner of the GUI and select System Settings.
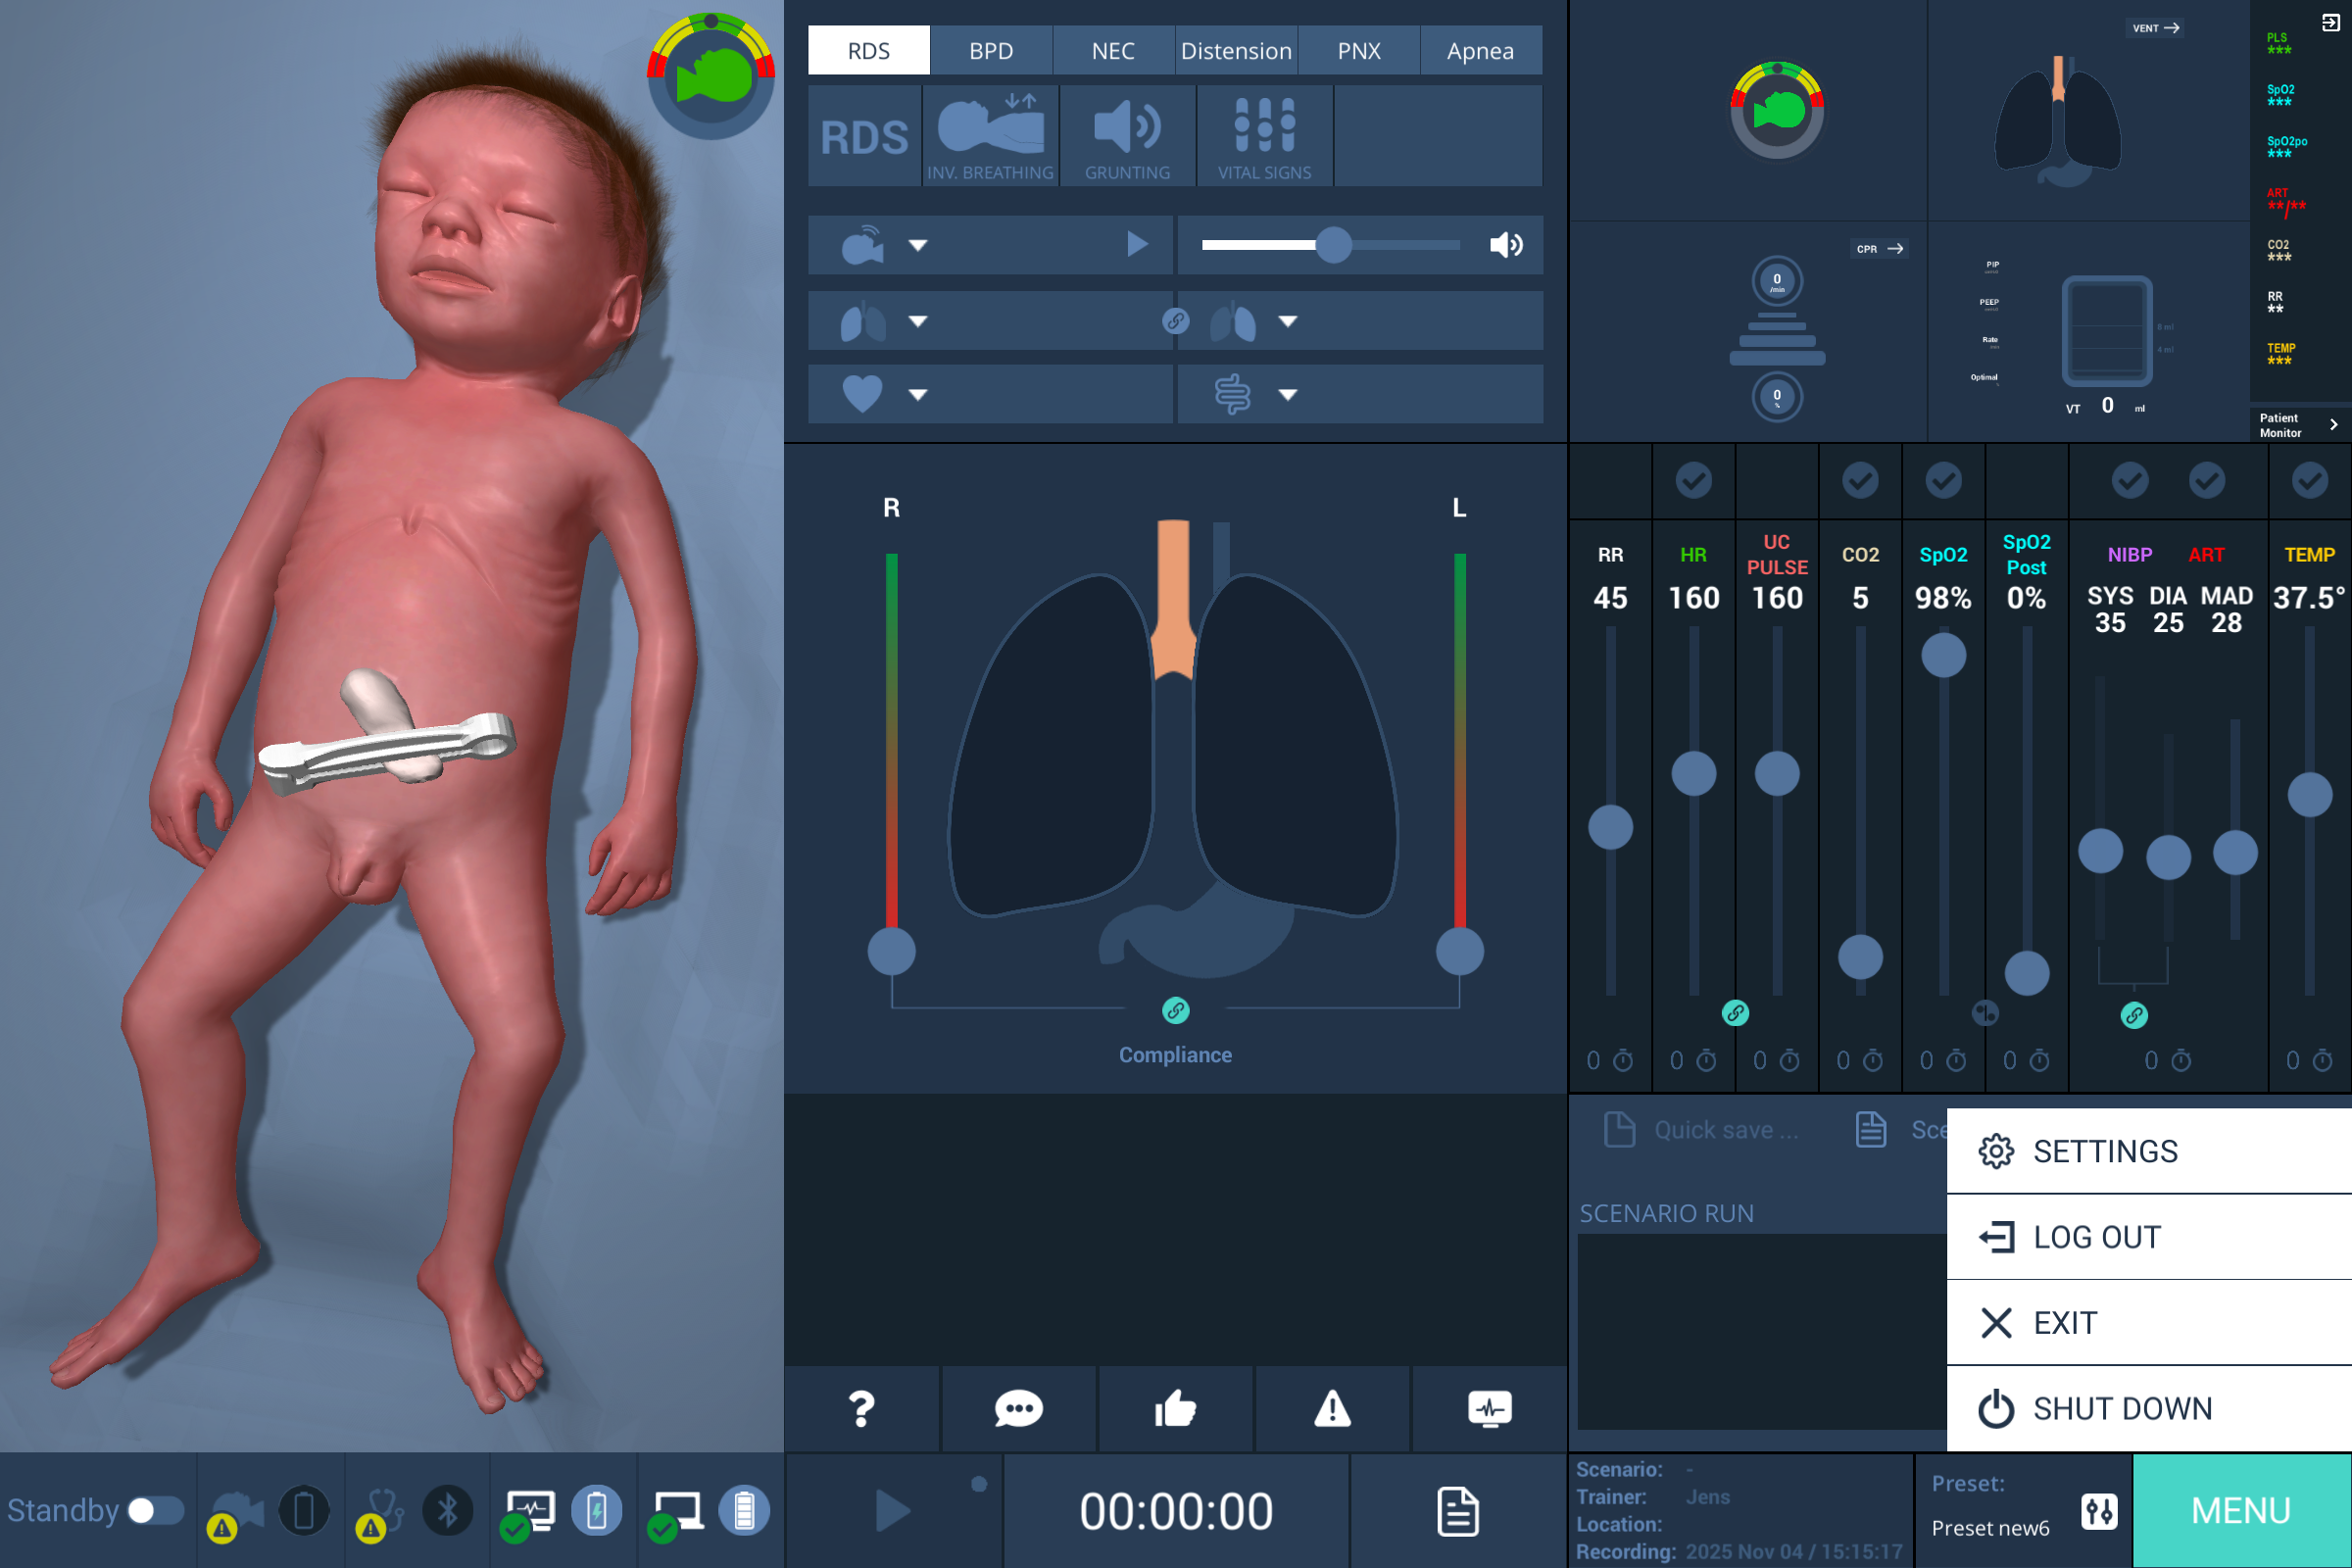
Select the Scenario editor tab.
NOTES
The editor lists all existing scenarios and allows editing. Scenarios can be tagged with a custom icon and color for quick identification.
In Manikin preferences, users can create preparation checklists for each scenario. During setup, these checklists are displayed on the patient monitor.
Starting saved scenarios
Click Menu on the bottom right corner of the GUI and select System Settings.
Select the Scenario editor tab.
Select the desired scenario from the list.
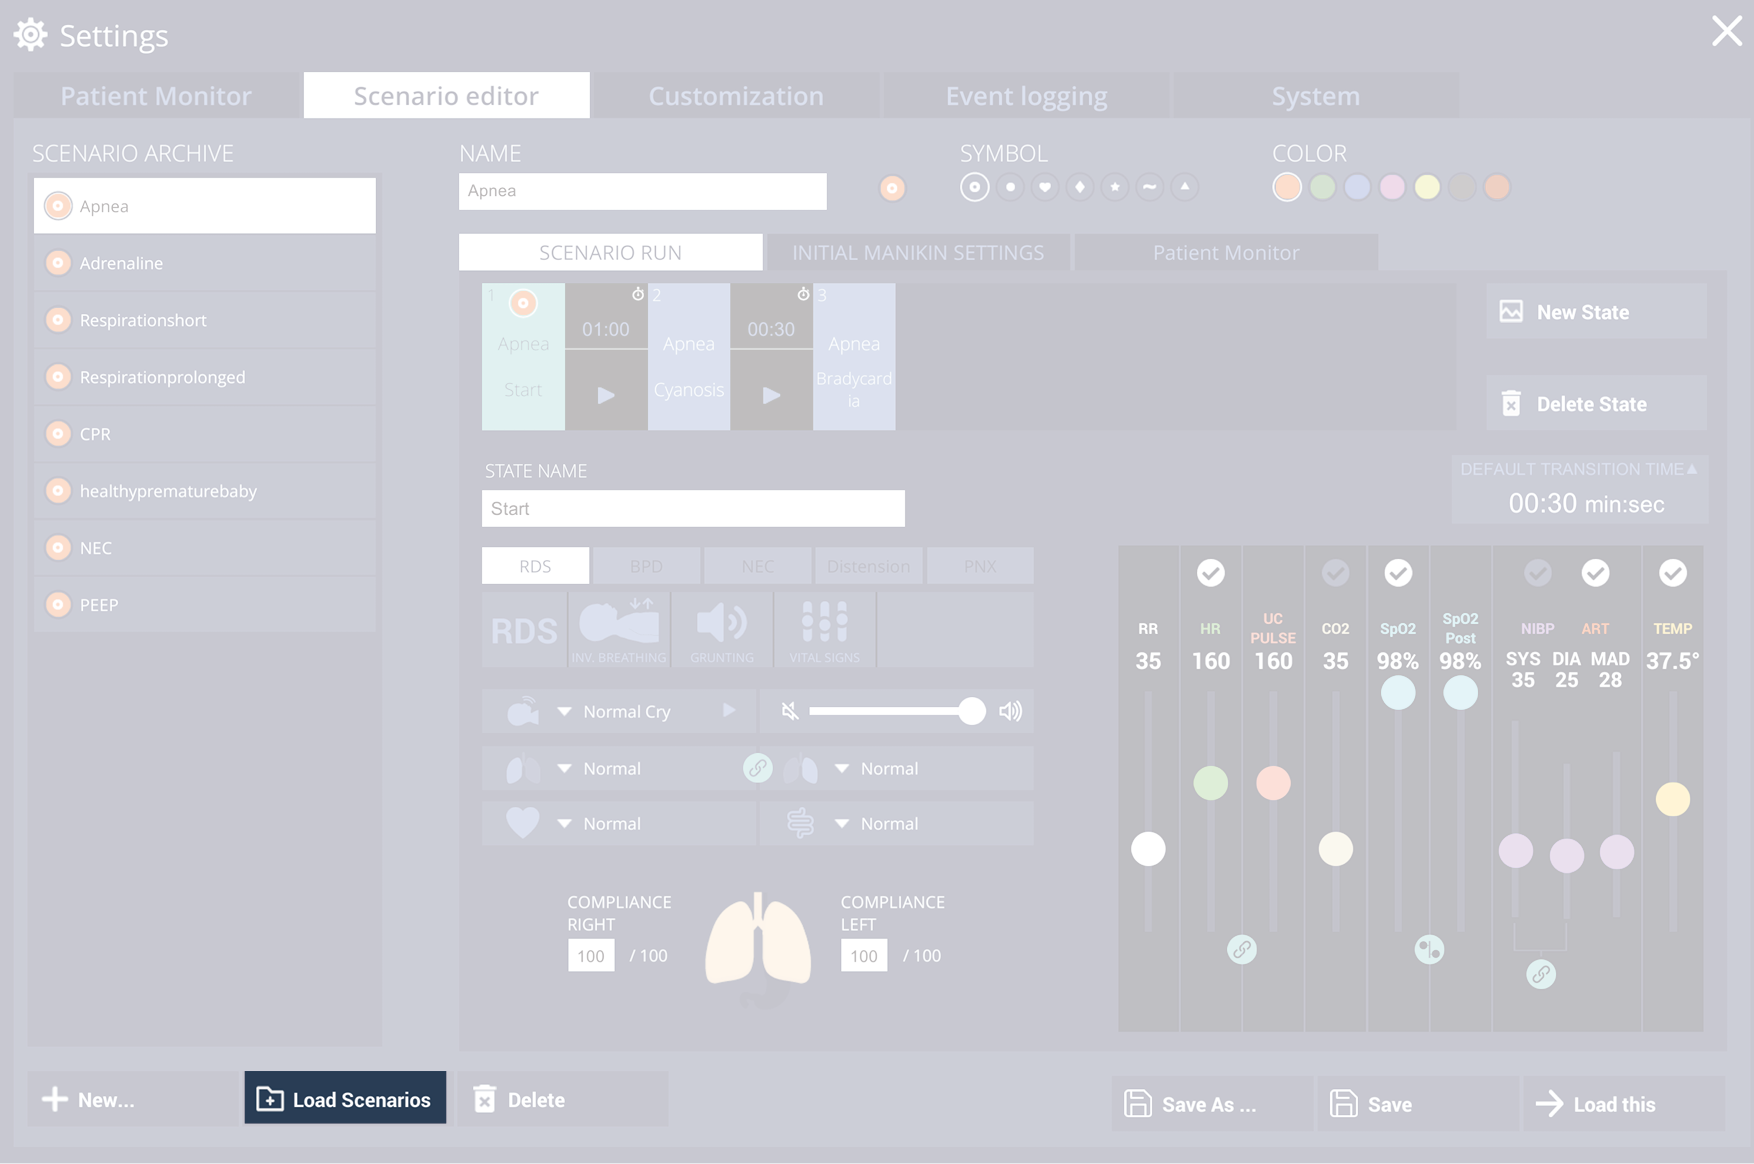
Click Load Scenarios.
The stages appear in the Scenario run area.
Click Play to start playback.
The scenario advances through stages according to the configured transition times.
Use Pause/Resume to halt or continue the run.
Use Next/Previous stage to skip or jump between stages.
When finished, click Stop.
NOTE
During a programmed scenario, users can intervene in the scenario process at any time; the scenario is then not continued. During the scenario, the progression can also be paused or accelerated or stages can be skipped.