The Patient Monitor
The simulation system is equipped with the most common monitor types used in neonatology in order to provide the training participants the most realistic training possible.
The following monitor types can currently be selected:
Dräger Infinity Series (1)
Philips IntelliVue Series (2)
GE B40
Nellcor Pulsoximetry
Users can switch between the different monitor types:
Click Menu on the bottom right corner of the GUI and select System Settings.
In the Patient Monitor tab, select a monitor type in the right side of the window.
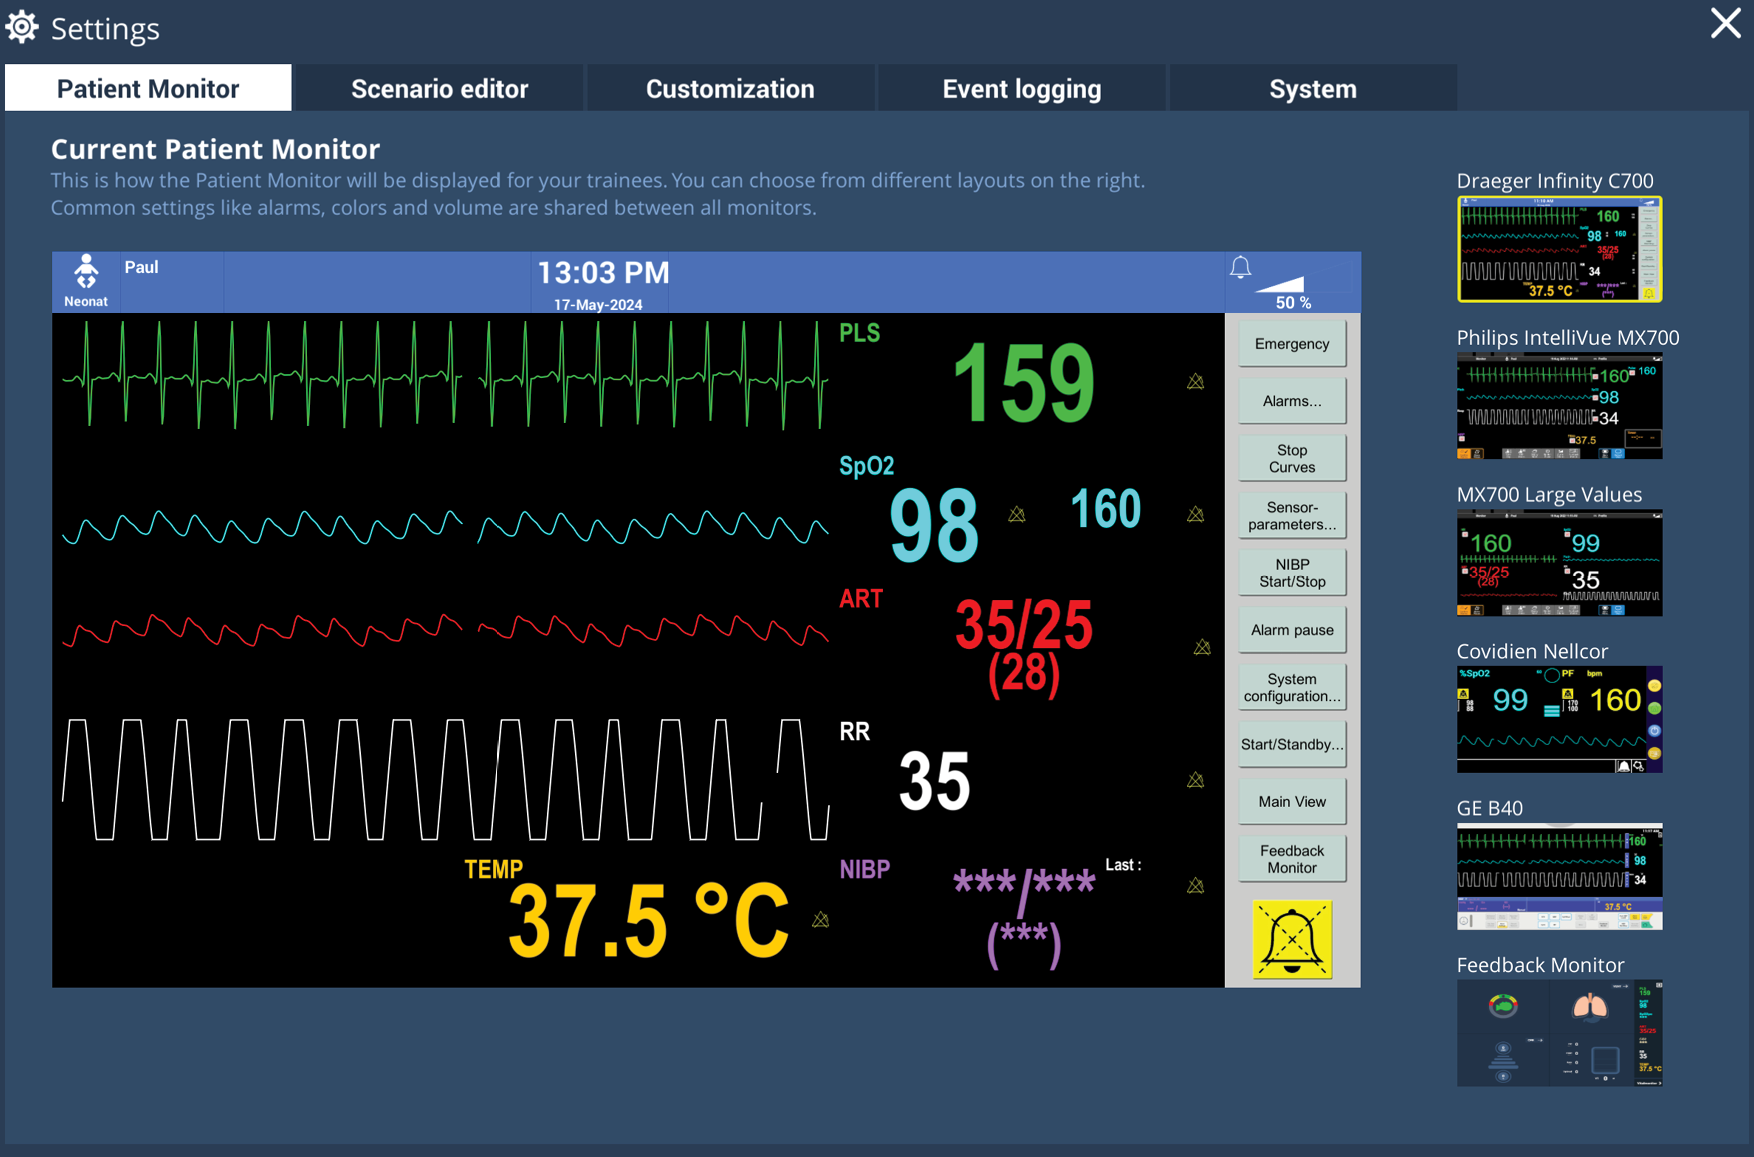
Patient monitor for Instructors
Configuration is performed via the standard menu of the selected monitor type. Instructors can adjust curve layout, curve colors, and alarm limits in this menu. All changes are applied immediately on the patient monitor in the training room.
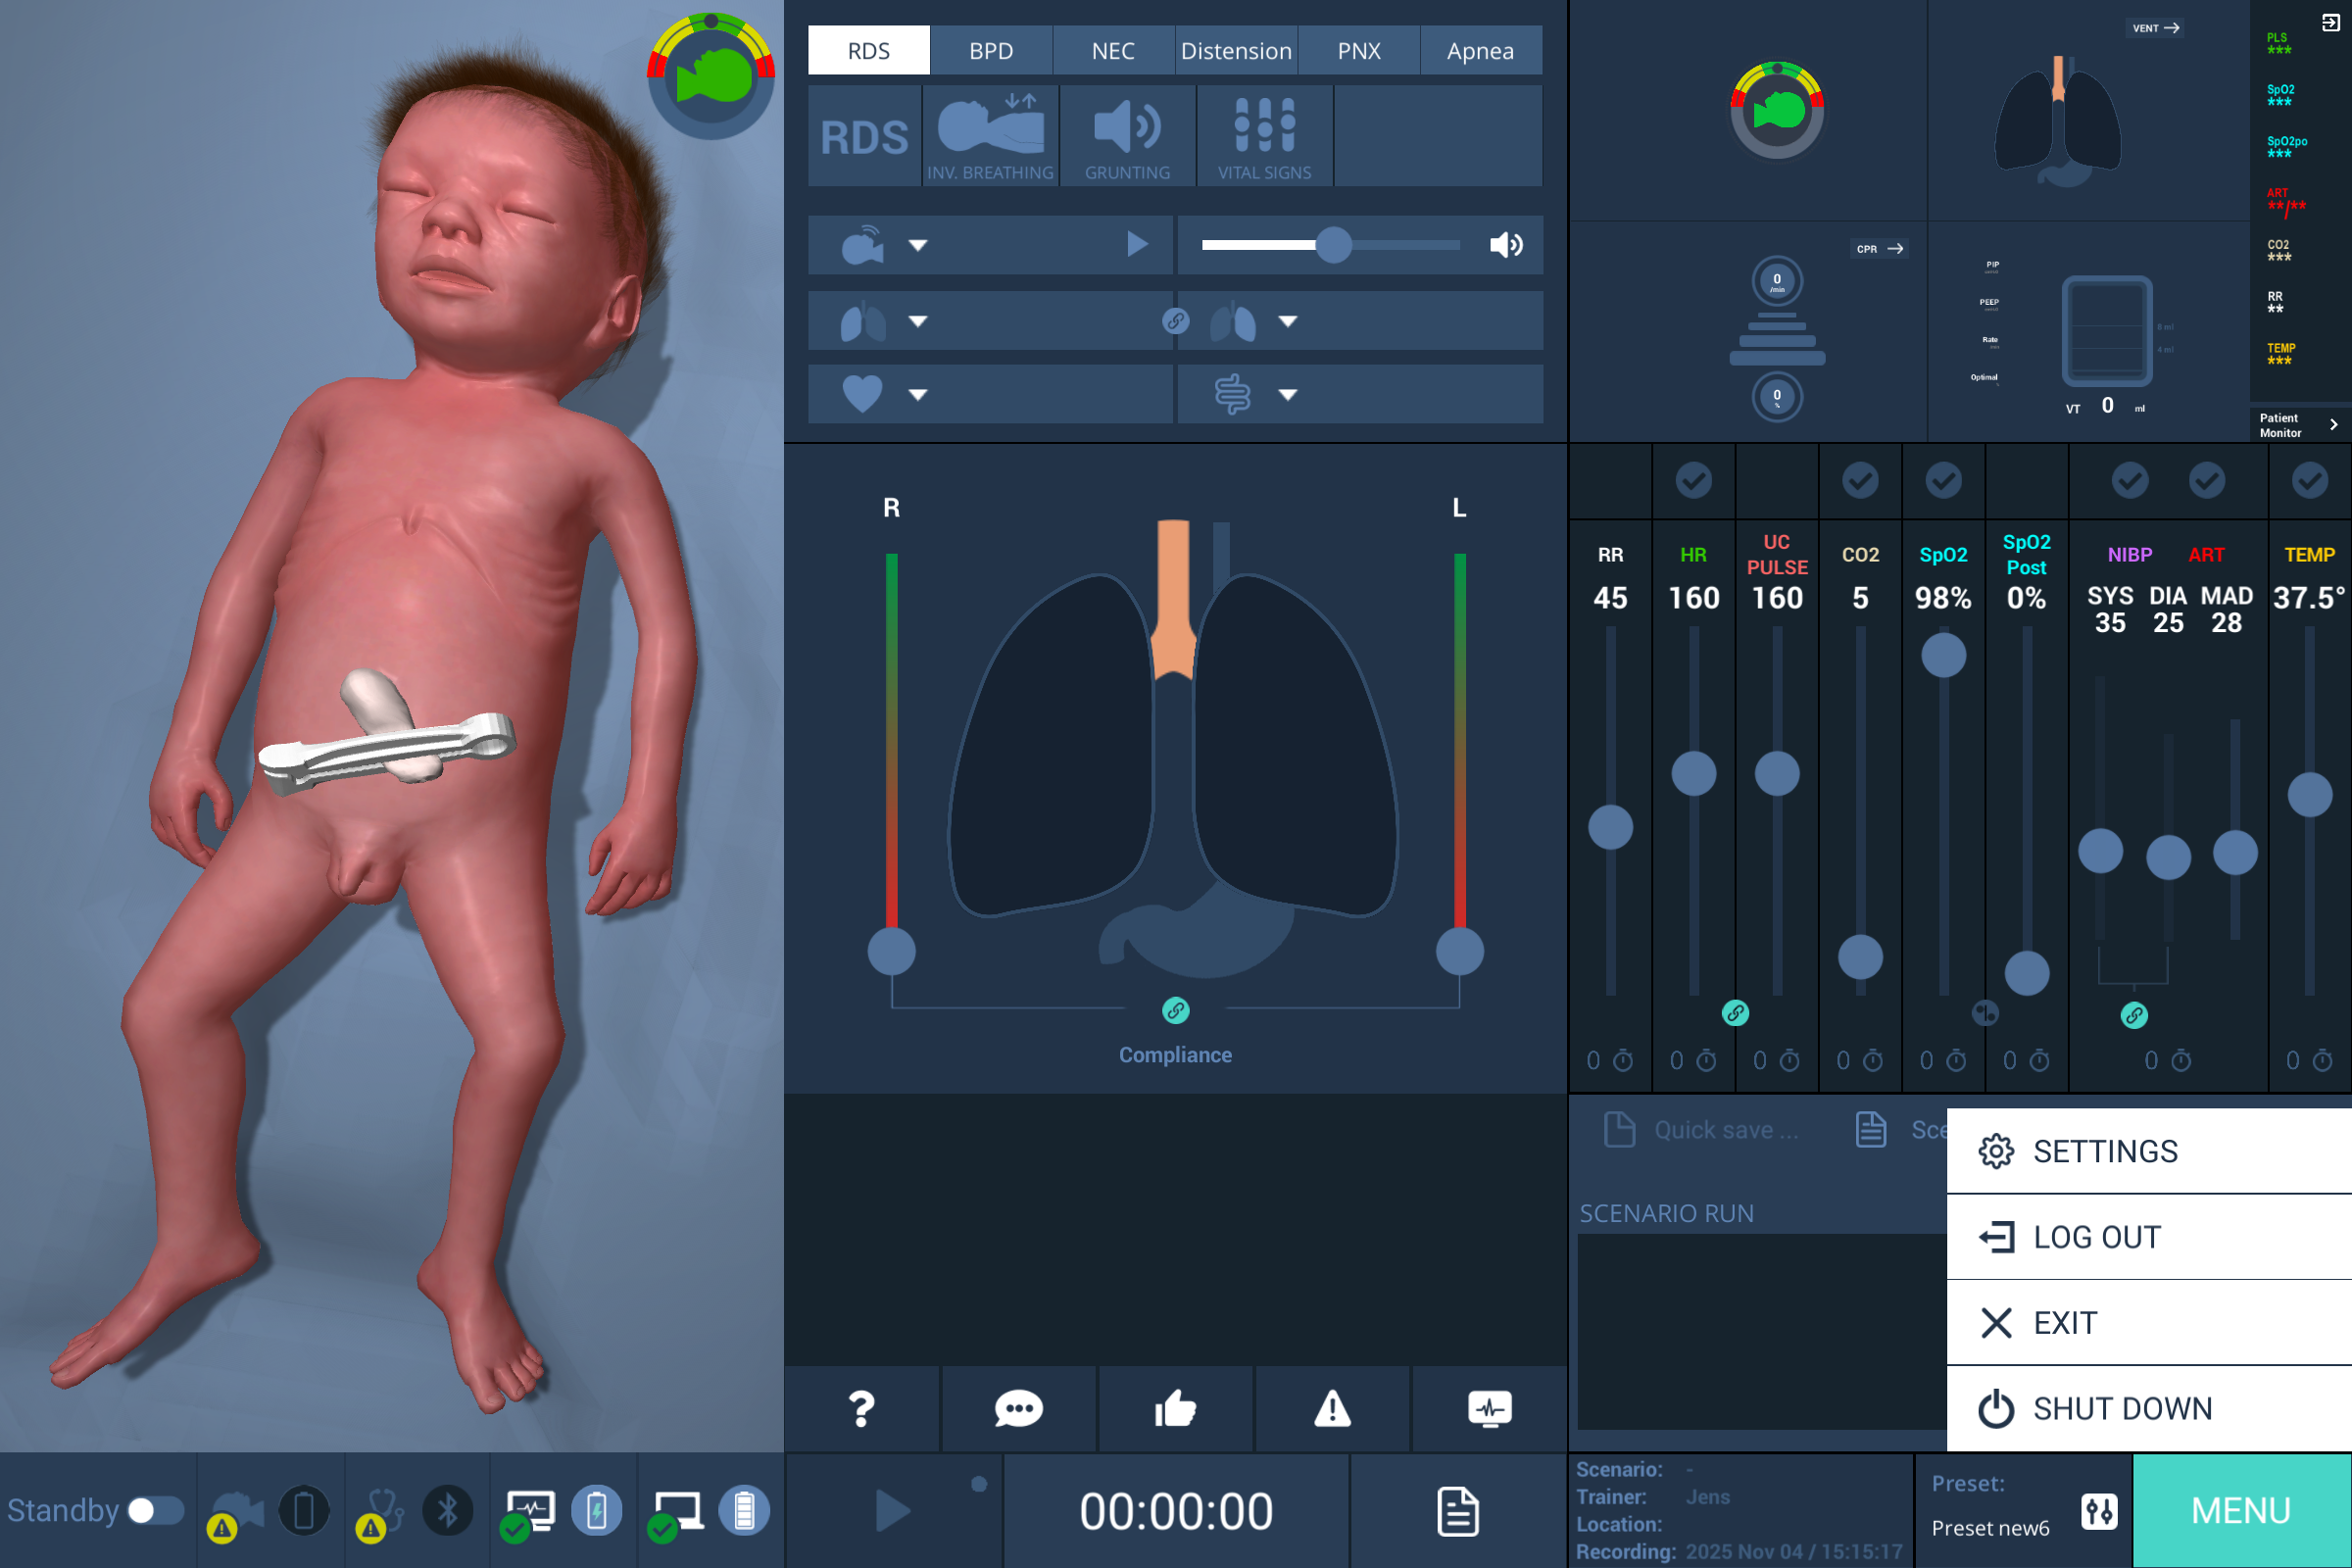
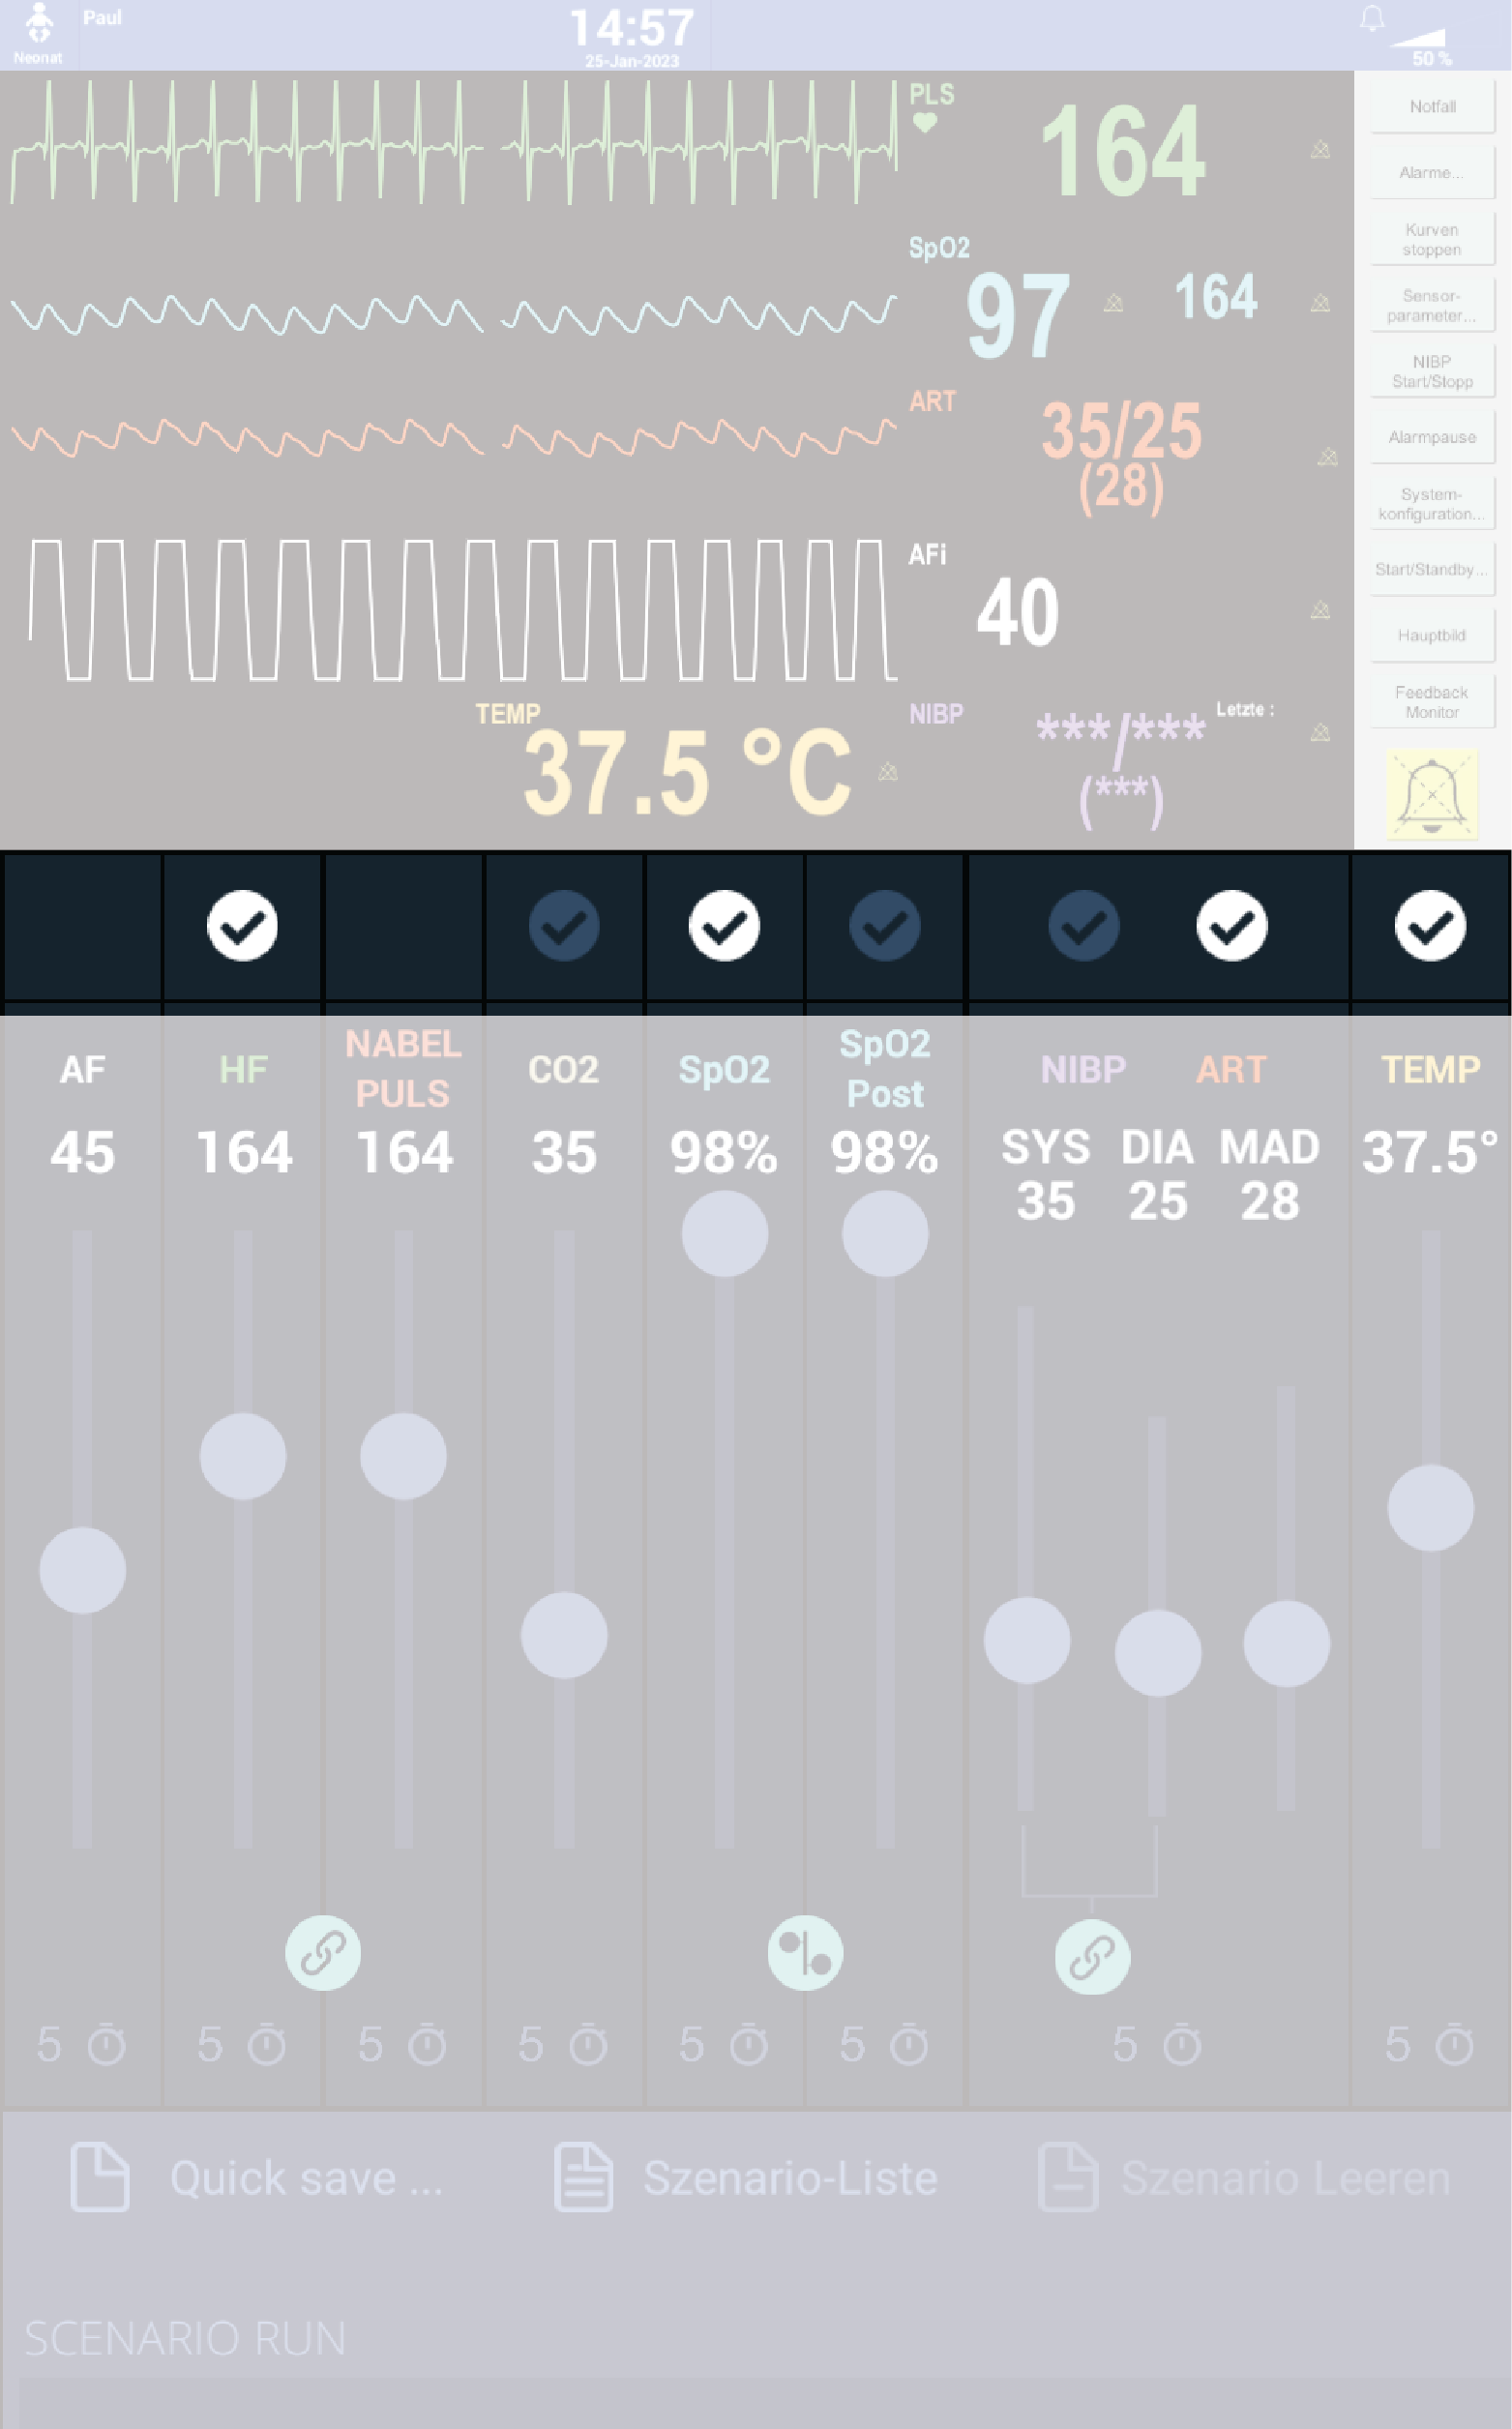
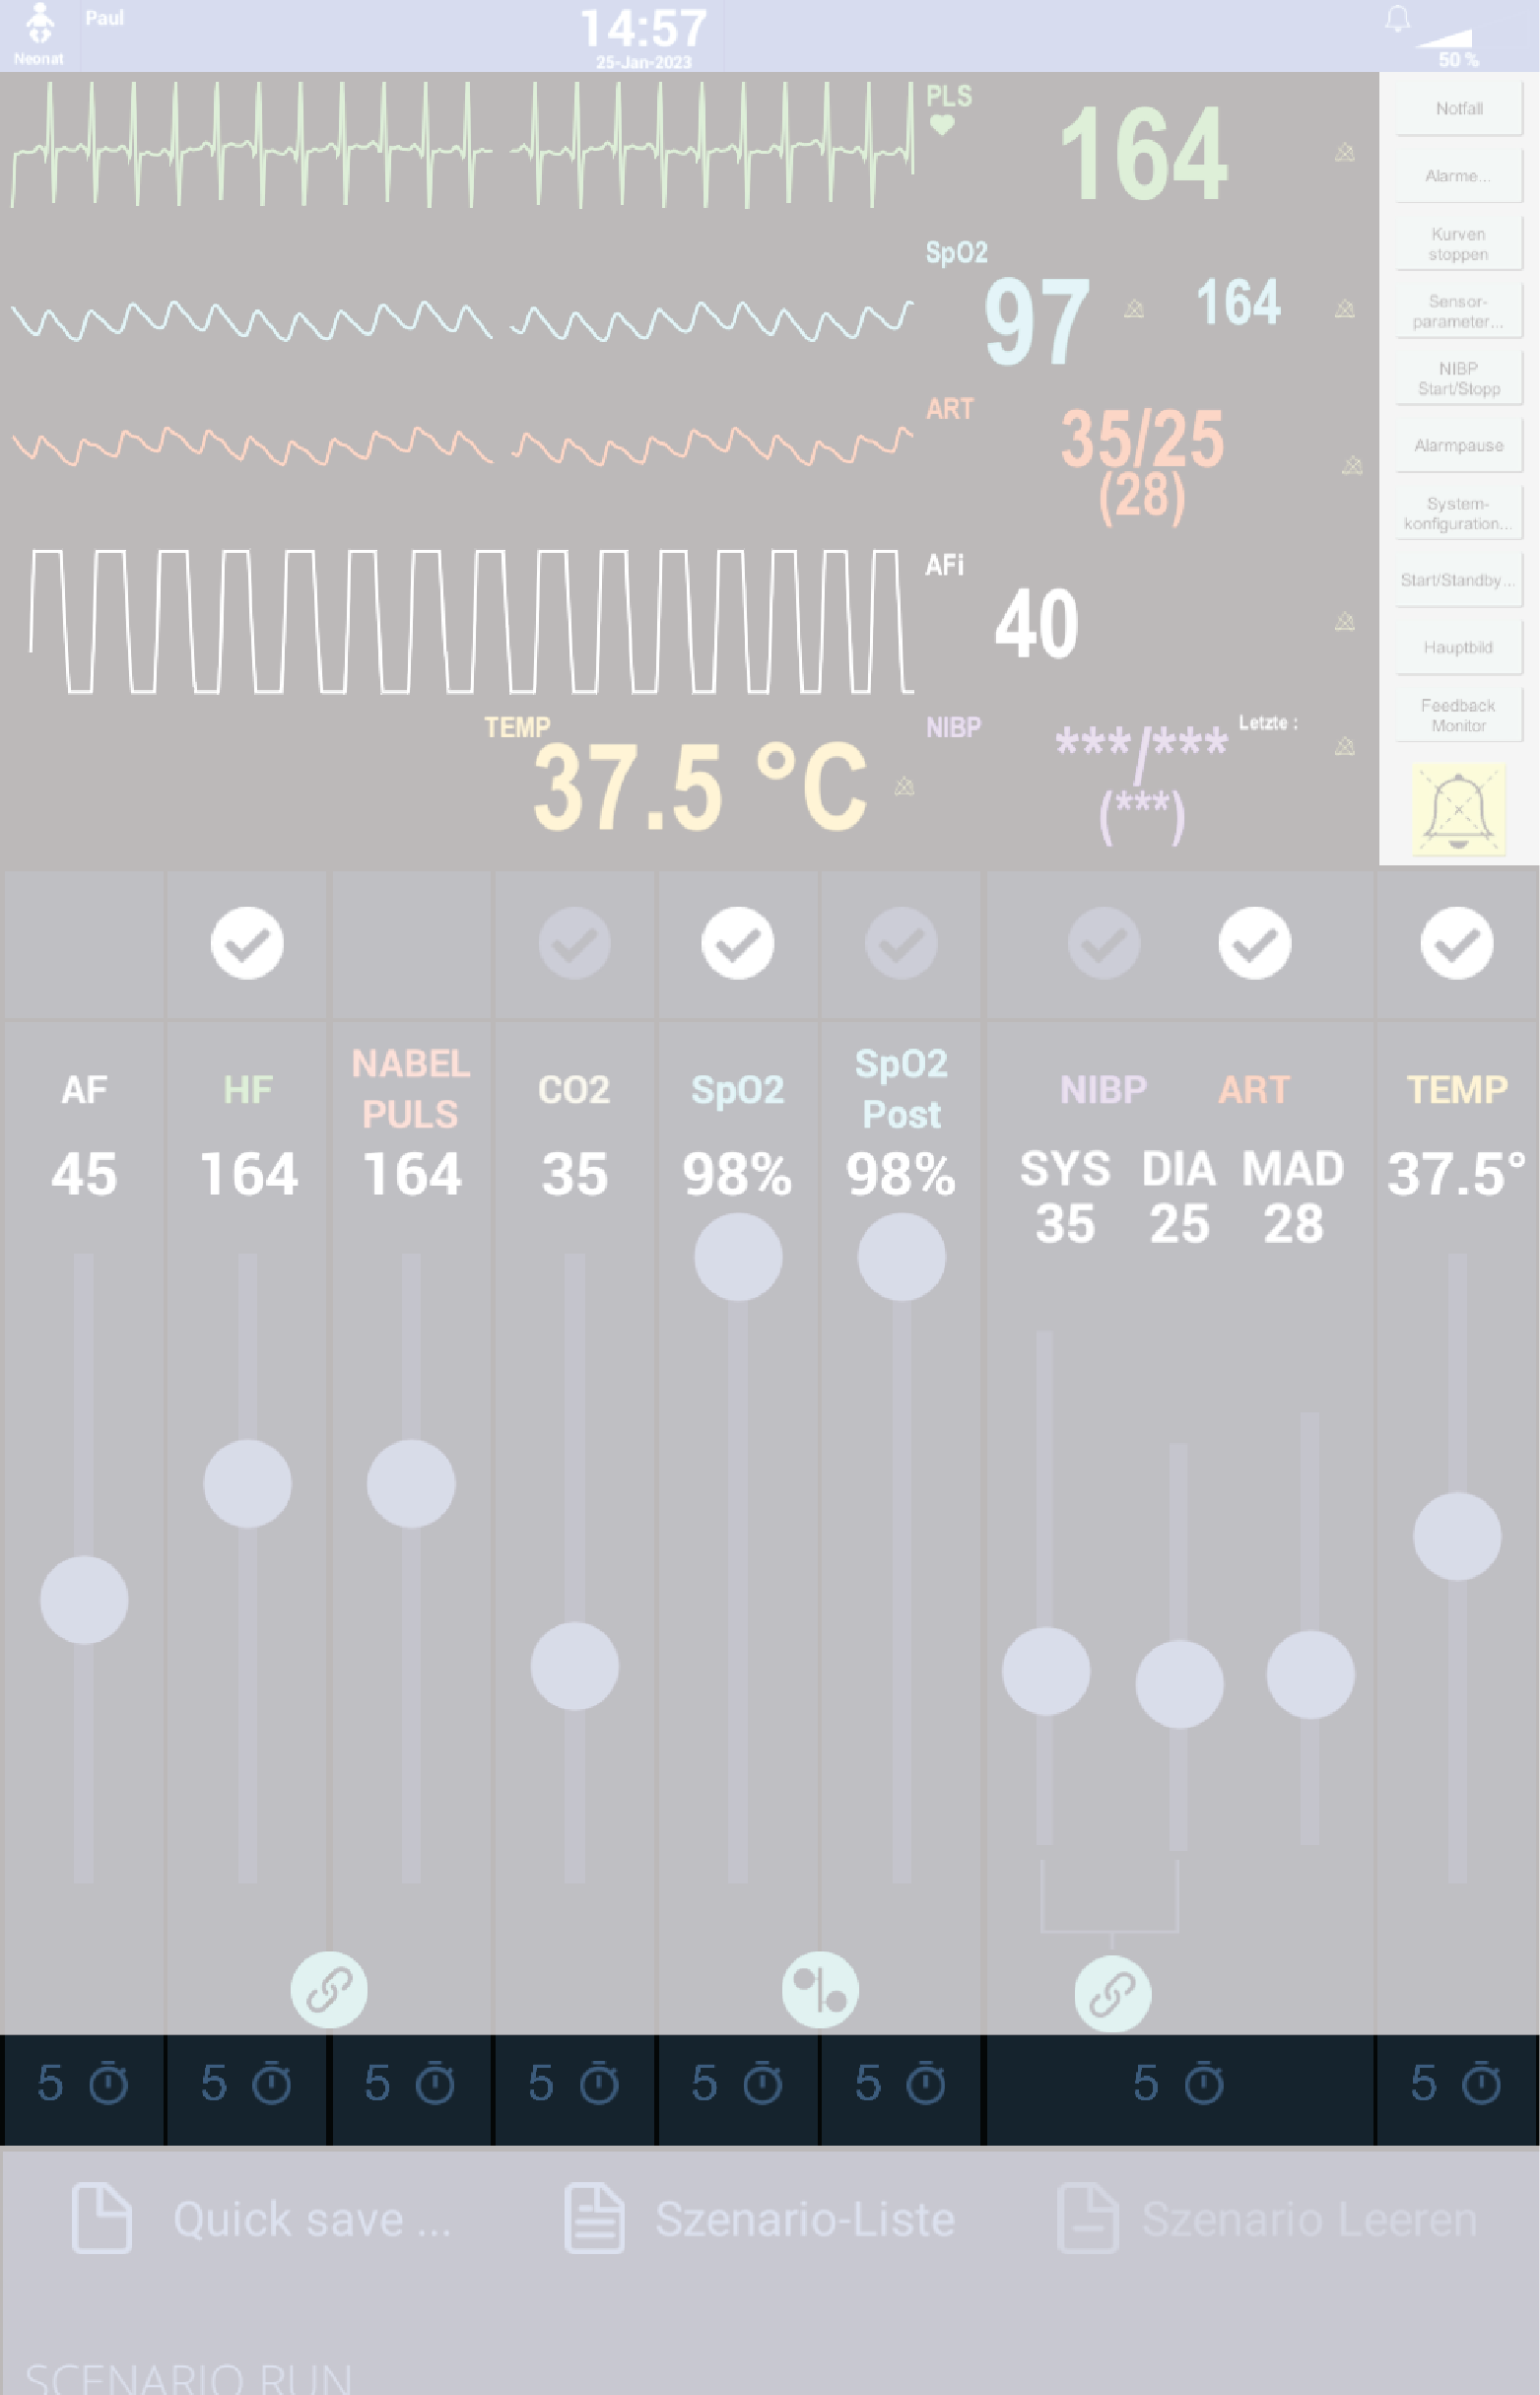
Vital parameters are controlled via the mixer on the user interface. The corresponding parameter is set by dragging the controls. This can be done via the touchscreen surface of the trainer monitor, with a mouse or via the track pad. The small clock at the bottom of the respective slider can be used to freely select the time over which the parameter is to be changed to the new value.
The following vital parameters can be set:
|
|
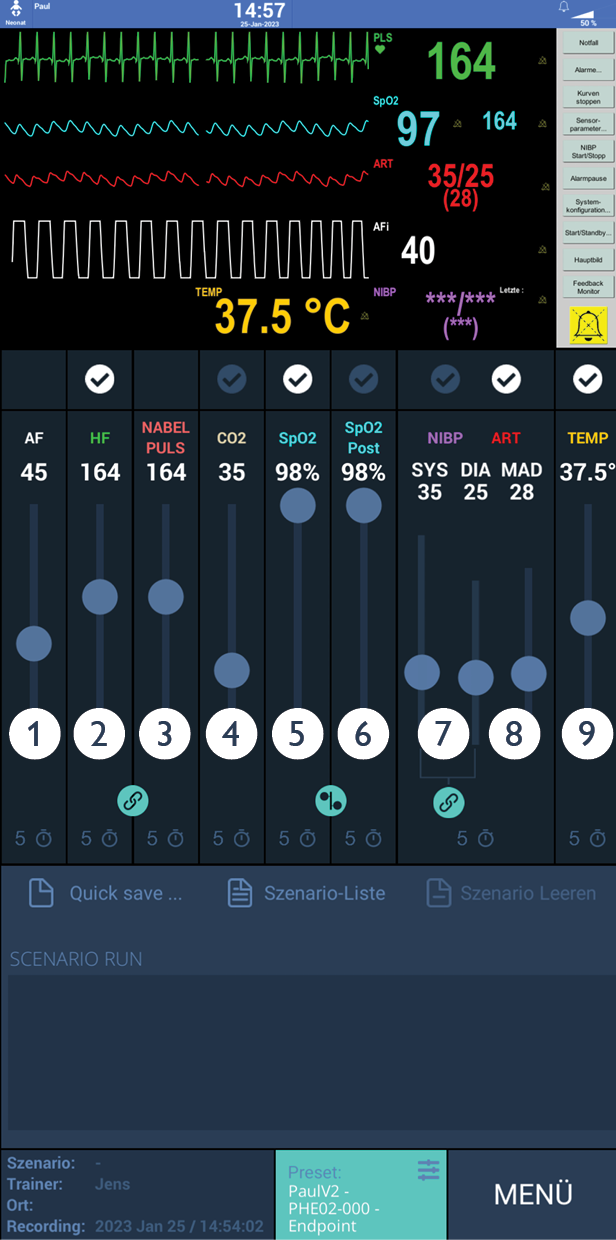
Instructors can change vitals on the Trainer laptop (layout, limits, curves) and then display them on the patient monitor. This is done by selecting the circles on top of each vital slider.
 |
 | Hides the parameter on the patient monitor. |
 | Shows the parameter on both the trainer and patient monitor. |
NOTE
It is important that instructors select or clear the circles properly for each vital parameter to keep the instructor and participant monitor views synchronized.
The timer icon at the bottom of the sliders sets how much waveform history is shown on the patient monitor. Click the clock icon to cycle through the available time-base presets.
 |
Patient monitor for trainees
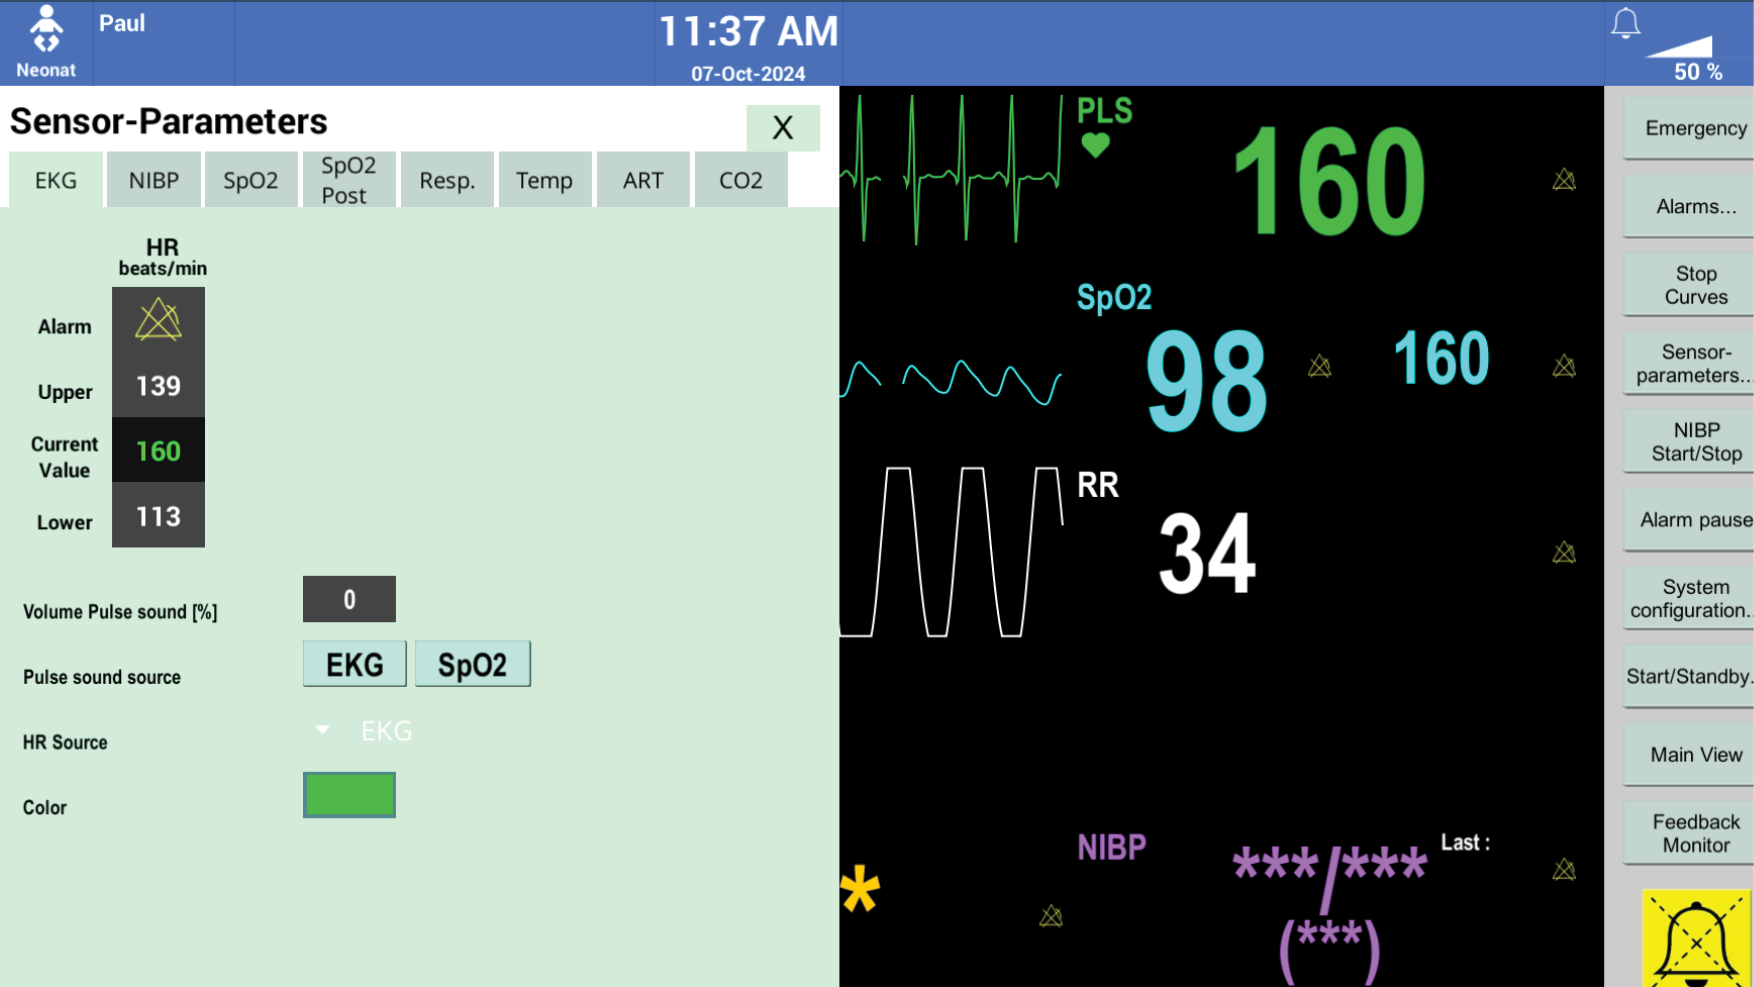
Training participants operate the patient monitor using the monitor type’s familiar interface. They can set alarm limits, acknowledge alarms, and adjust automatic NIBP measurement intervals, according to local practice.
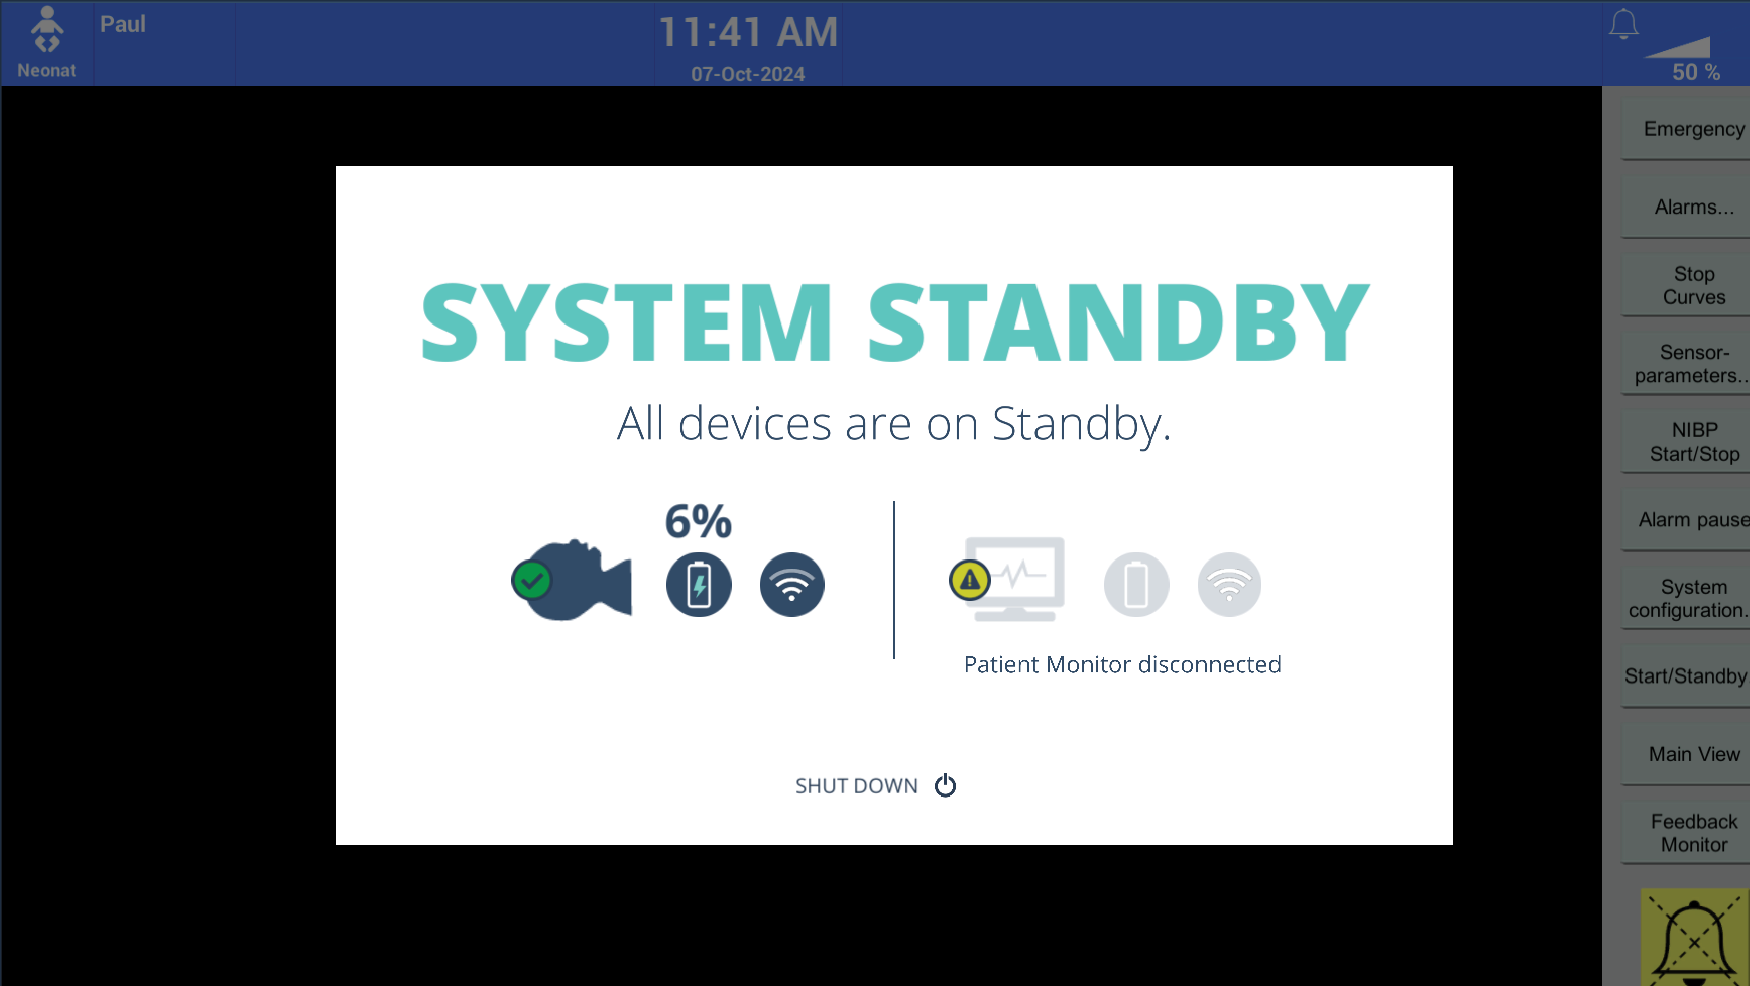
The monitor is touchscreen. When the simulation system starts it is in standby.
Touch the screen to display the parameter and waveform areas and make adjustments.

Parameters and curves become visible in real time once they have been enabled by the instructor (checkmark), keeping both screens synchronized.