Arm
Removing the arms
Unzip the torso skin on both sides and pull it up.
Disconnect the arm cable from the torso.
Lift the latch located at the shoulder joint.
Carefully slide the arm out and set aside.
Attaching the arm
Align the arm with the shoulder joint.
Pull the latch and slide the arm into position.
Release the latch to secure the arm.
Connect the arm cable to the torso.
Test range of motion and gently pull to ensure the arm is securely latched.
Cleaning the arm IM pads & absorbent sheets
The arm IM pad can be punctured numerous times before being replaced or dried. It can withstand up to 5 x 2 ml injections before needing replaced with a dry pad.
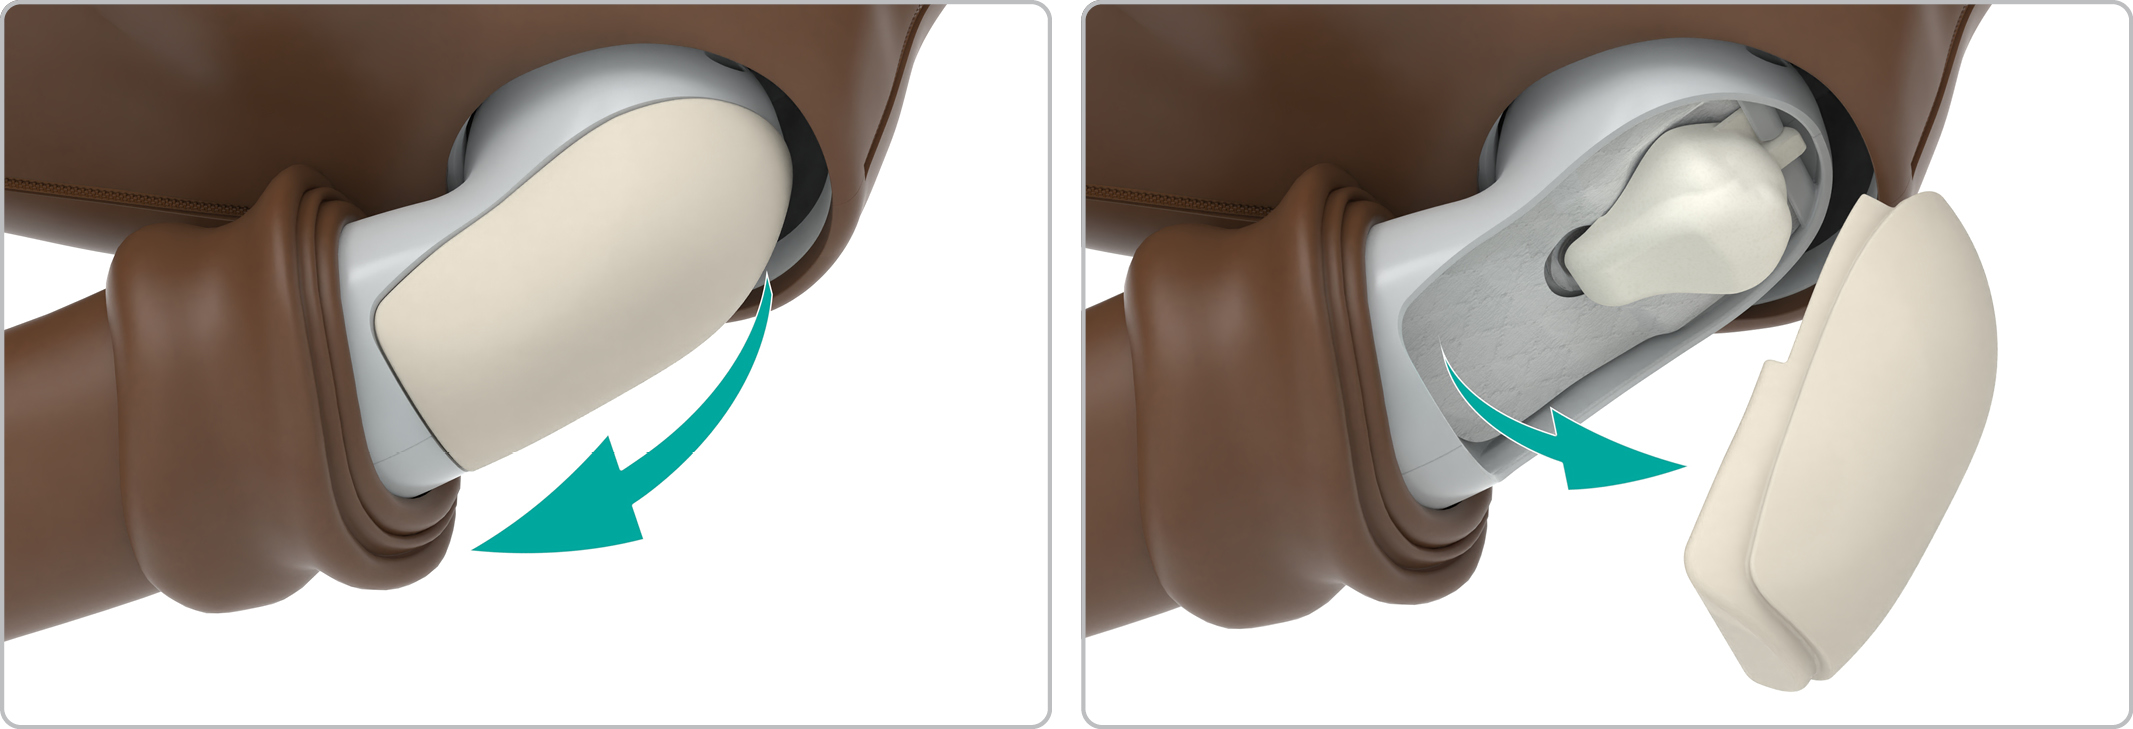
Roll down the arm skin starting at the shoulder.
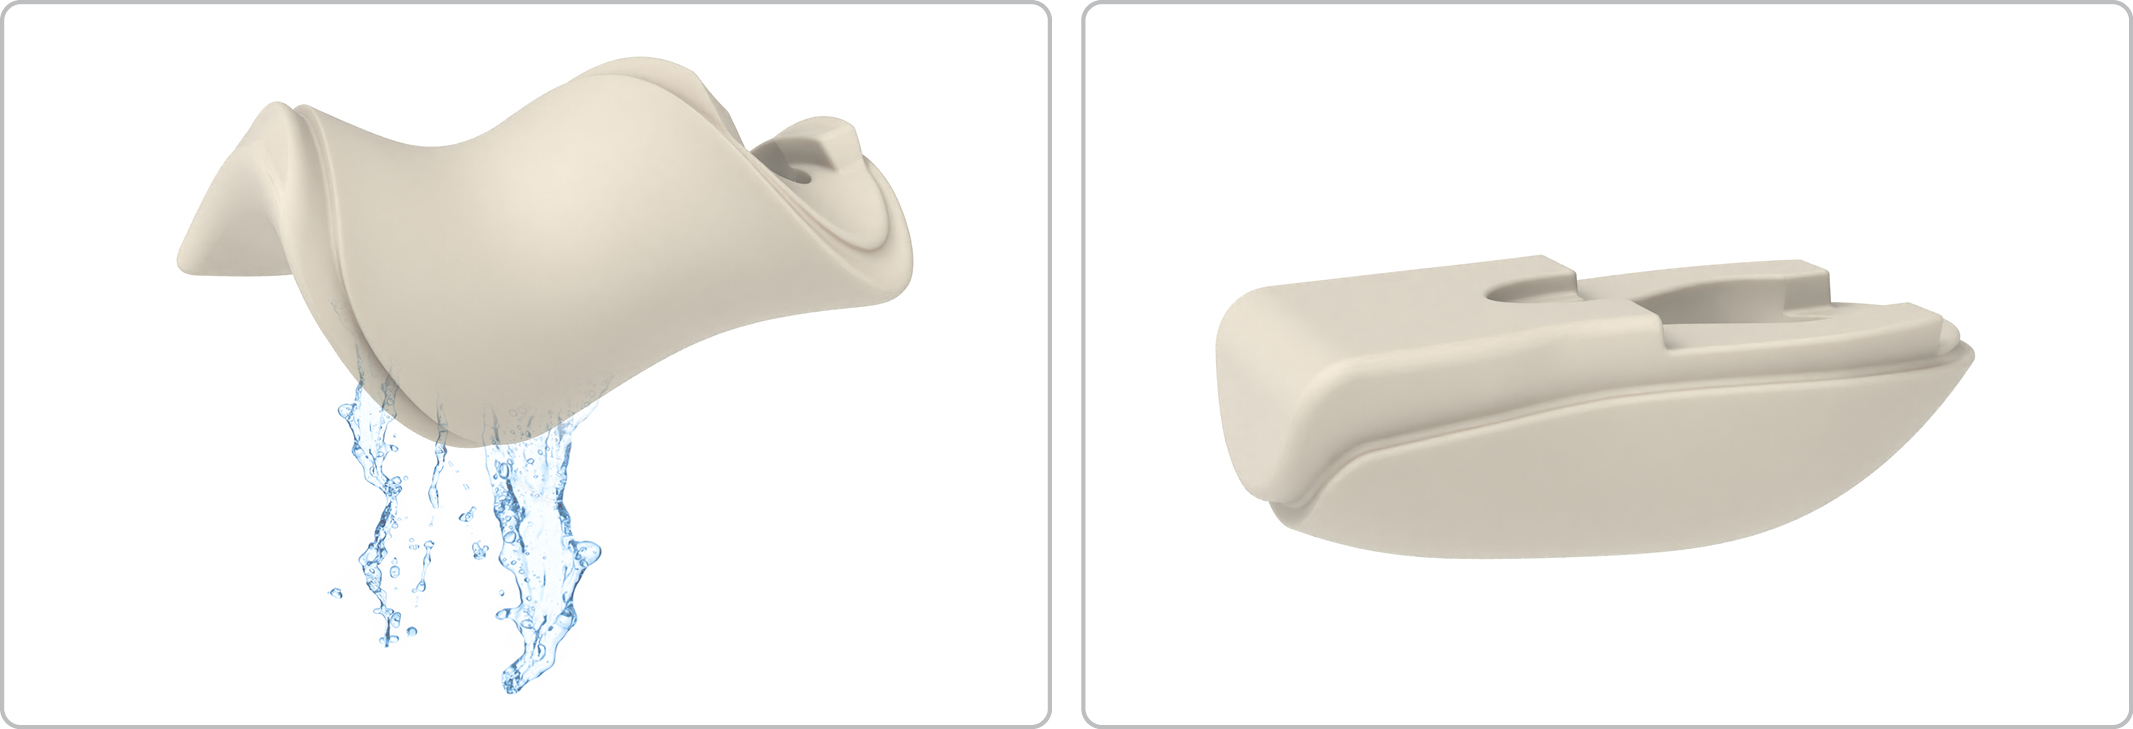
Remove the arm IM pad.
Wring out the fluid from the pad.
Completely air dry (approximately 12 hours).
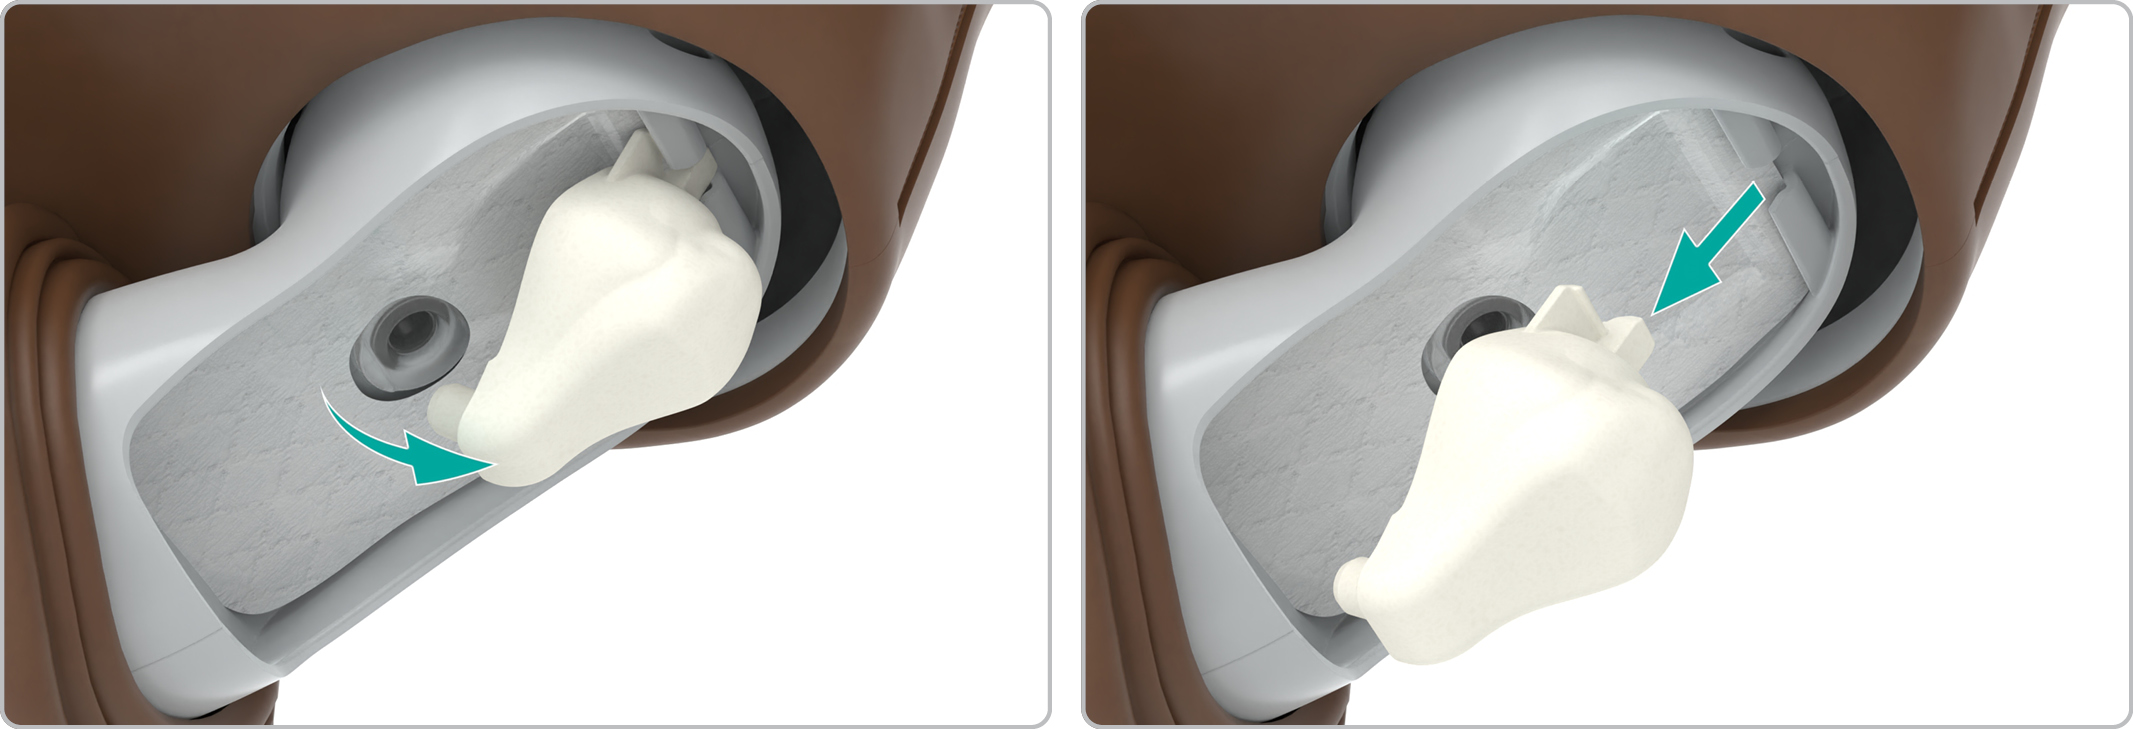
Lift out the IO arm bone.
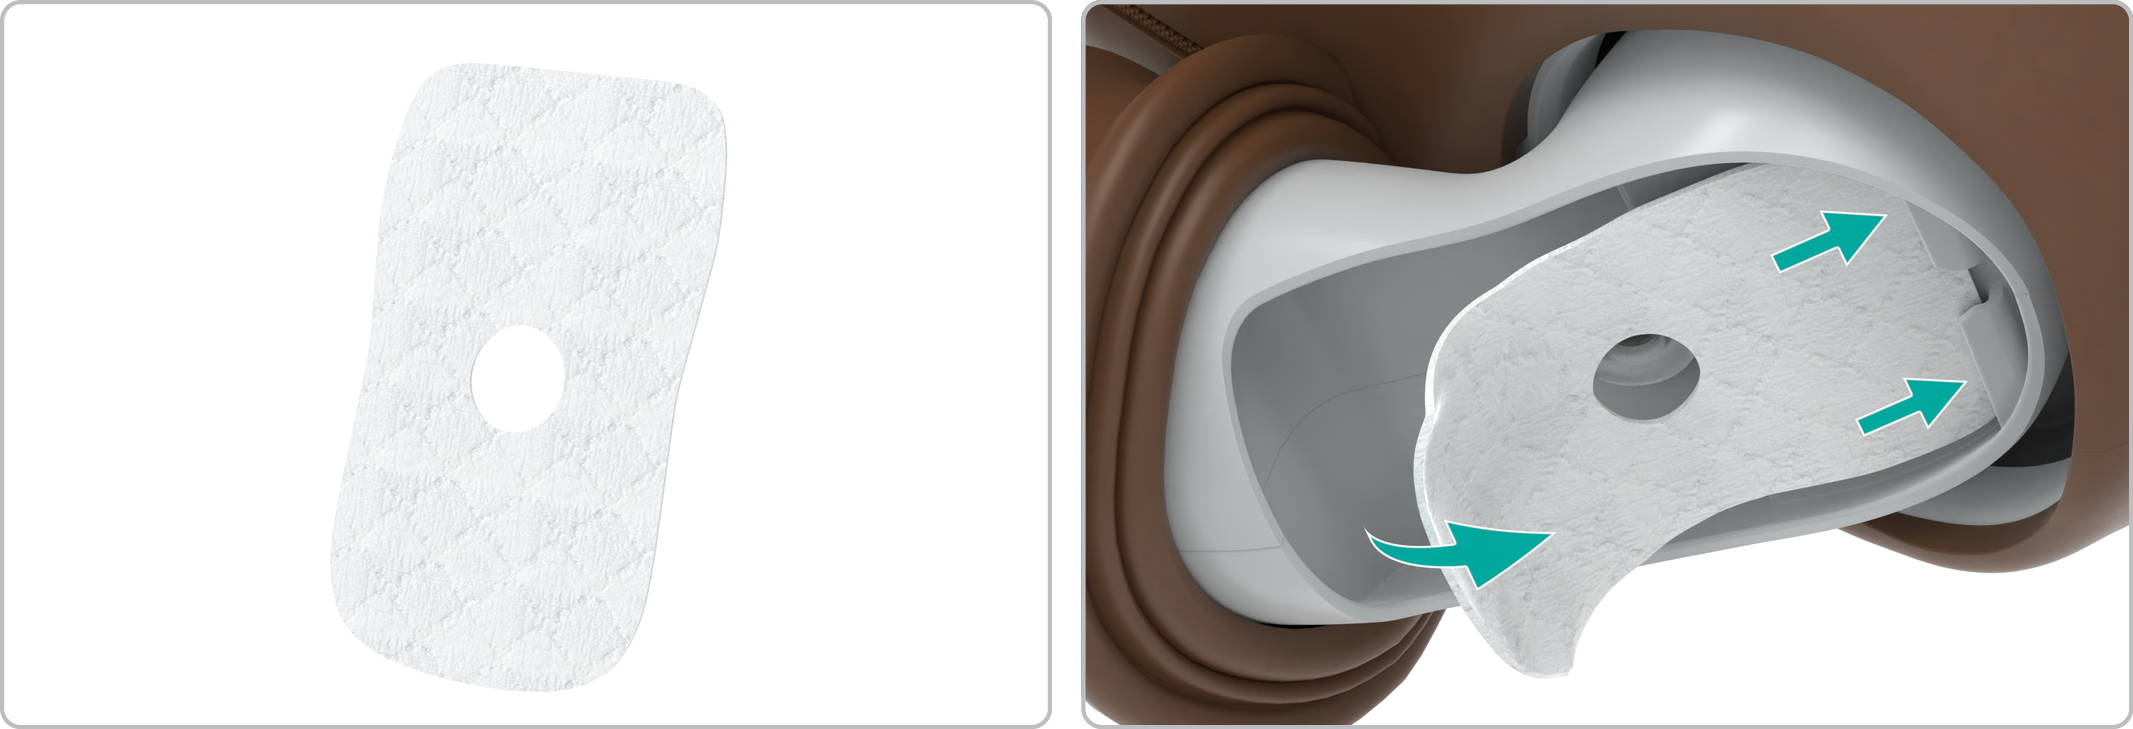
Remove absorbent sheet, if wet.
Discard the used sheet.
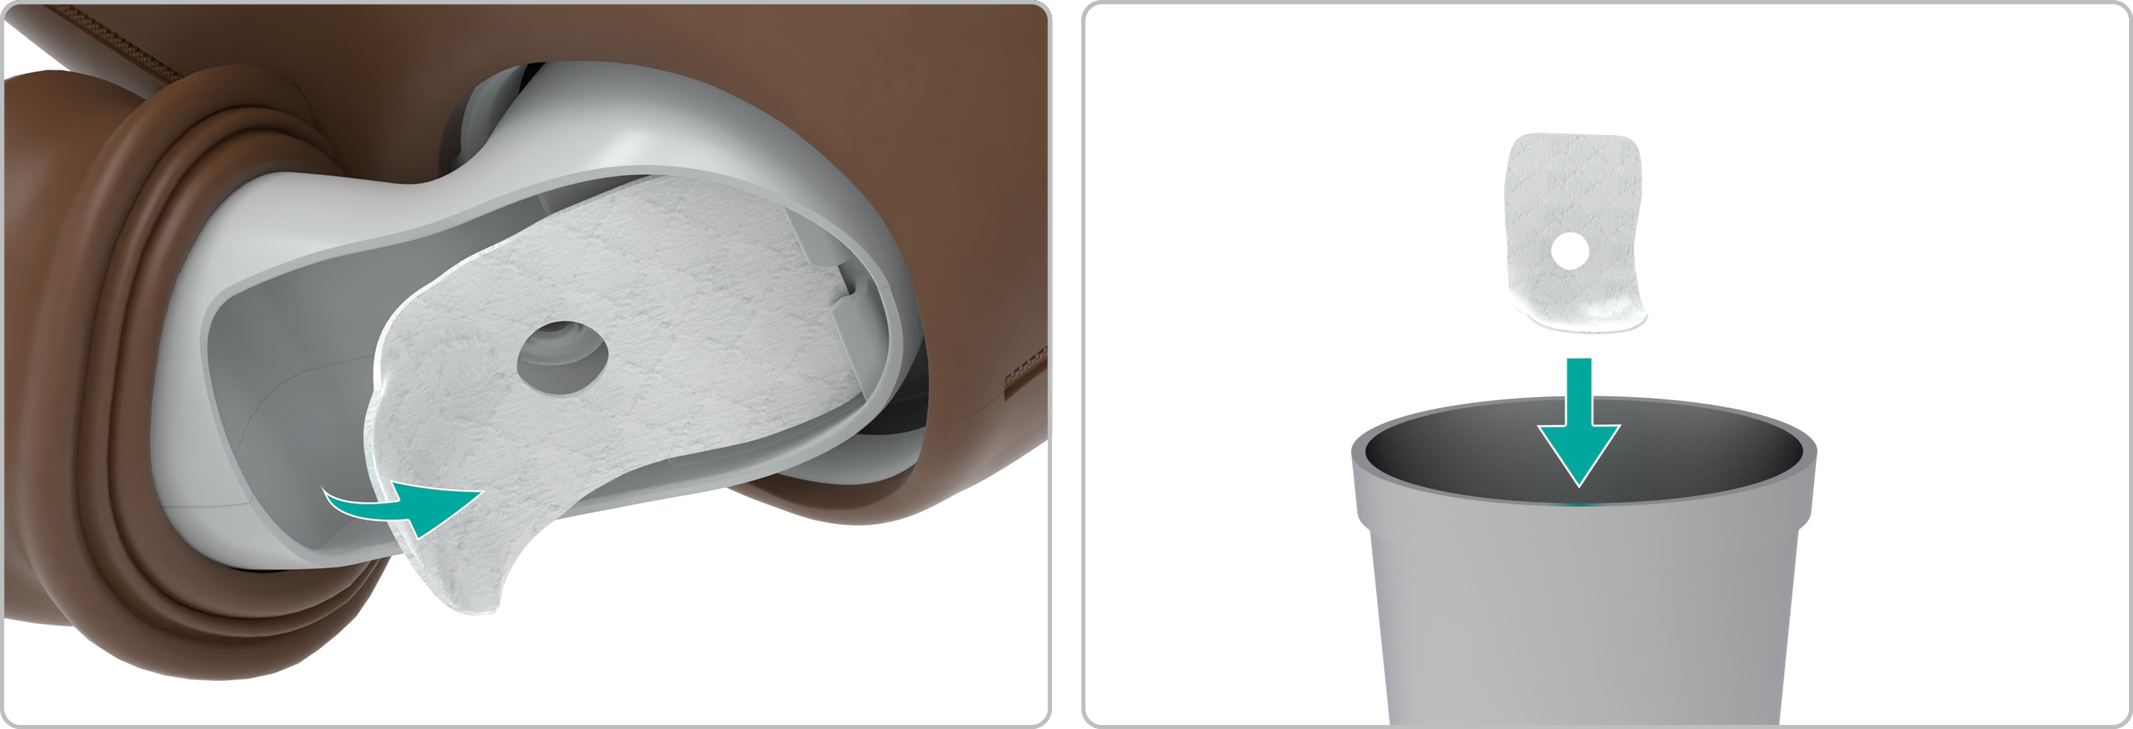
Select the new sheet.
Insert the sheet into place.
Place the arm IO bone back.
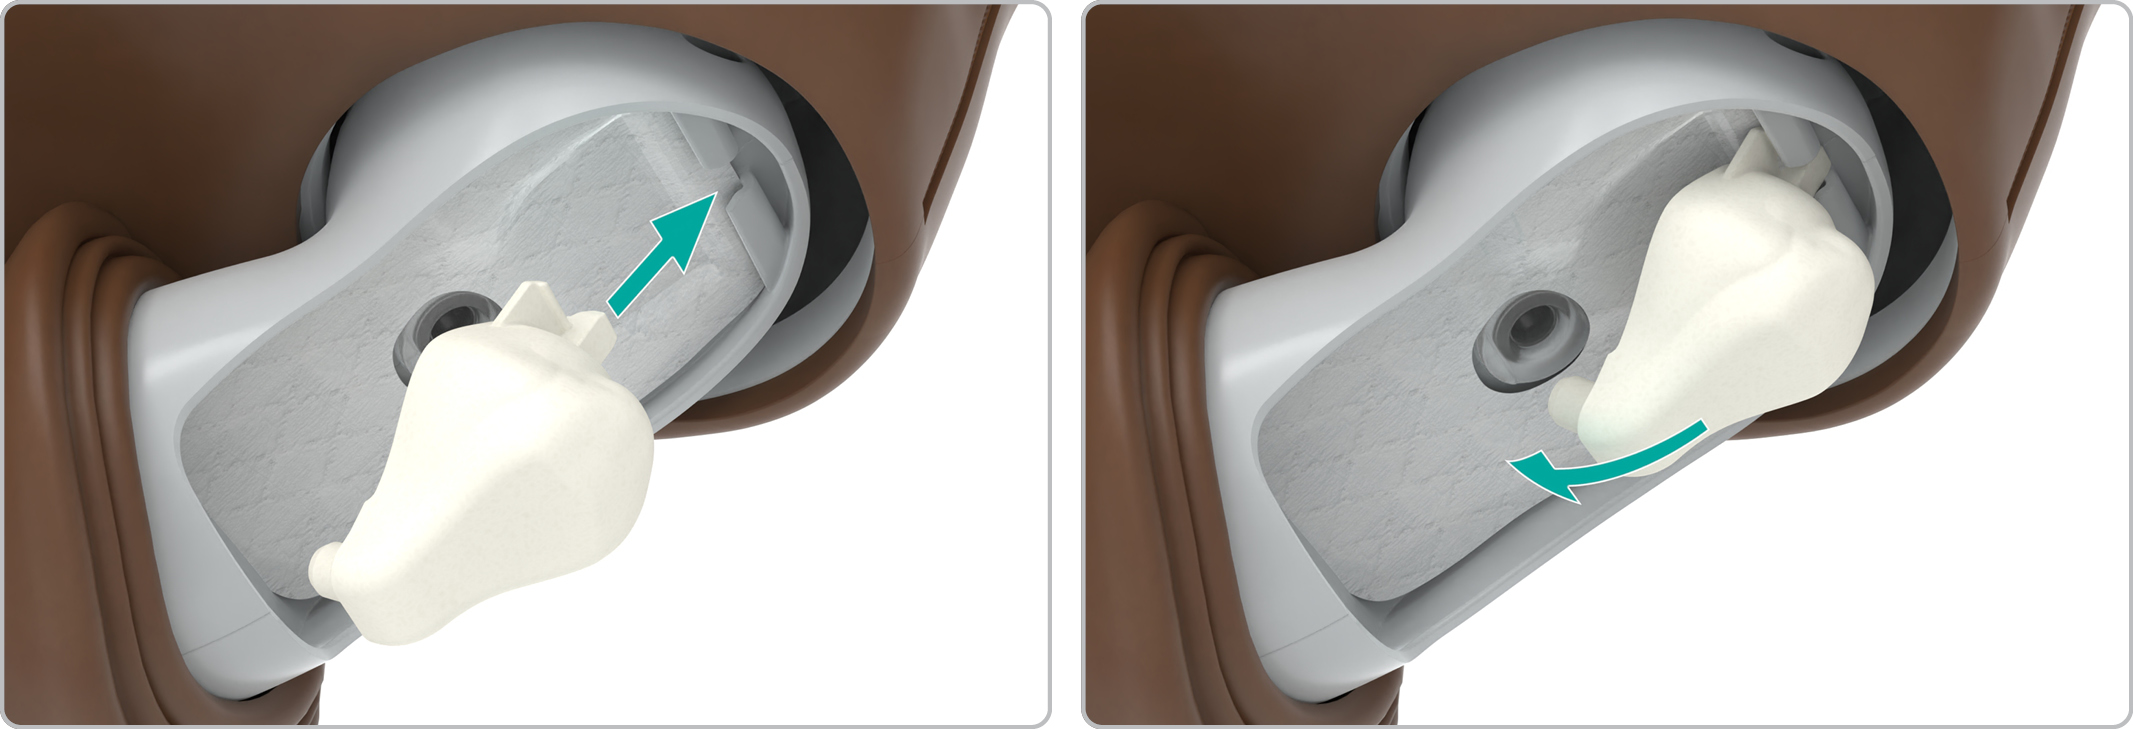
Ensure the base of the IO bone slots into place.
Place the IM pad back inside the shoulder.
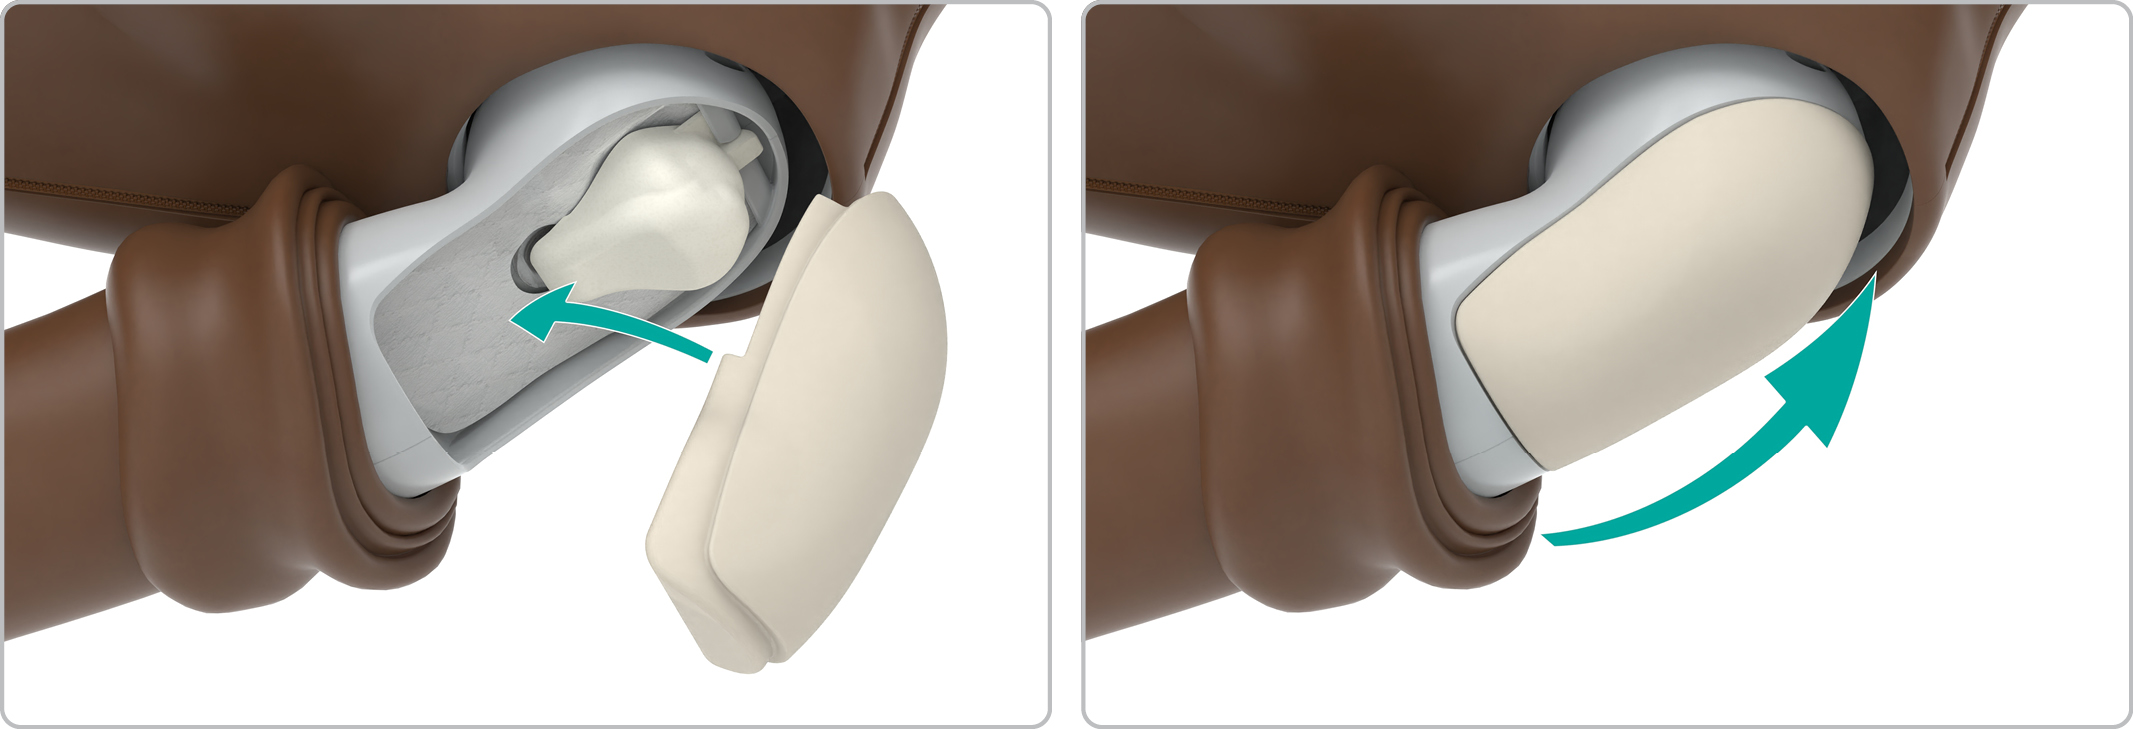
For more information on this procedure, check this how-to video.
Replacing the arm IM pads
The arm IM pad can be punctured numerous times before being replaced or dried. It can withstand up to 5 x 2 ml injections before needing replaced with a dry pad.
Roll down the arm skin starting at the shoulder.
Remove the arm IM pad.
Take a new IM pad.
Place the IM pad inside the shoulder.
Roll up the arm skin back on the shoulder.
 How-to video: How to Replace Consumables in the Arm.
Replacing the IV port & seal
Change the IV port or seal if they show signs of significant wear and tear.
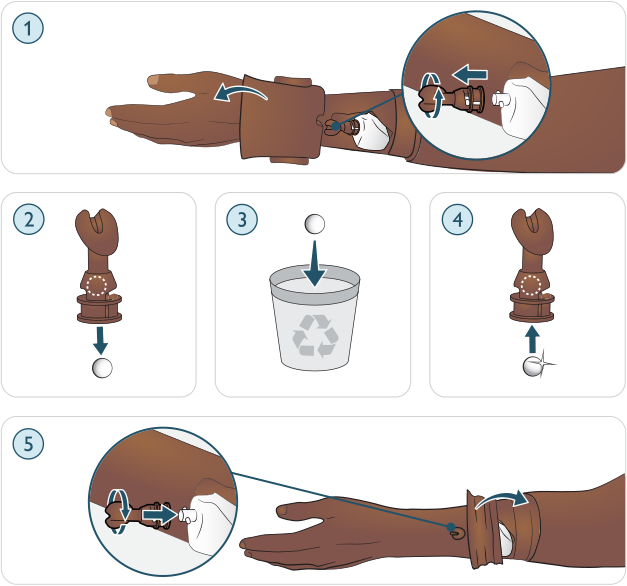
Roll down the forearm skin.
Release the IV port from the chassis.
Rotate to release from the tube.
Remove the IV port completely from the arm.
Remove the used seal from the inside IV port.
Discard the used seal.
Insert a new seal into the IV port.
Align and attach the IV port to the tube.
Rotate the IV port to secure in place.
Click back into the chassis.
Roll the forearm skin back on the arm.